 Save to Pinterest
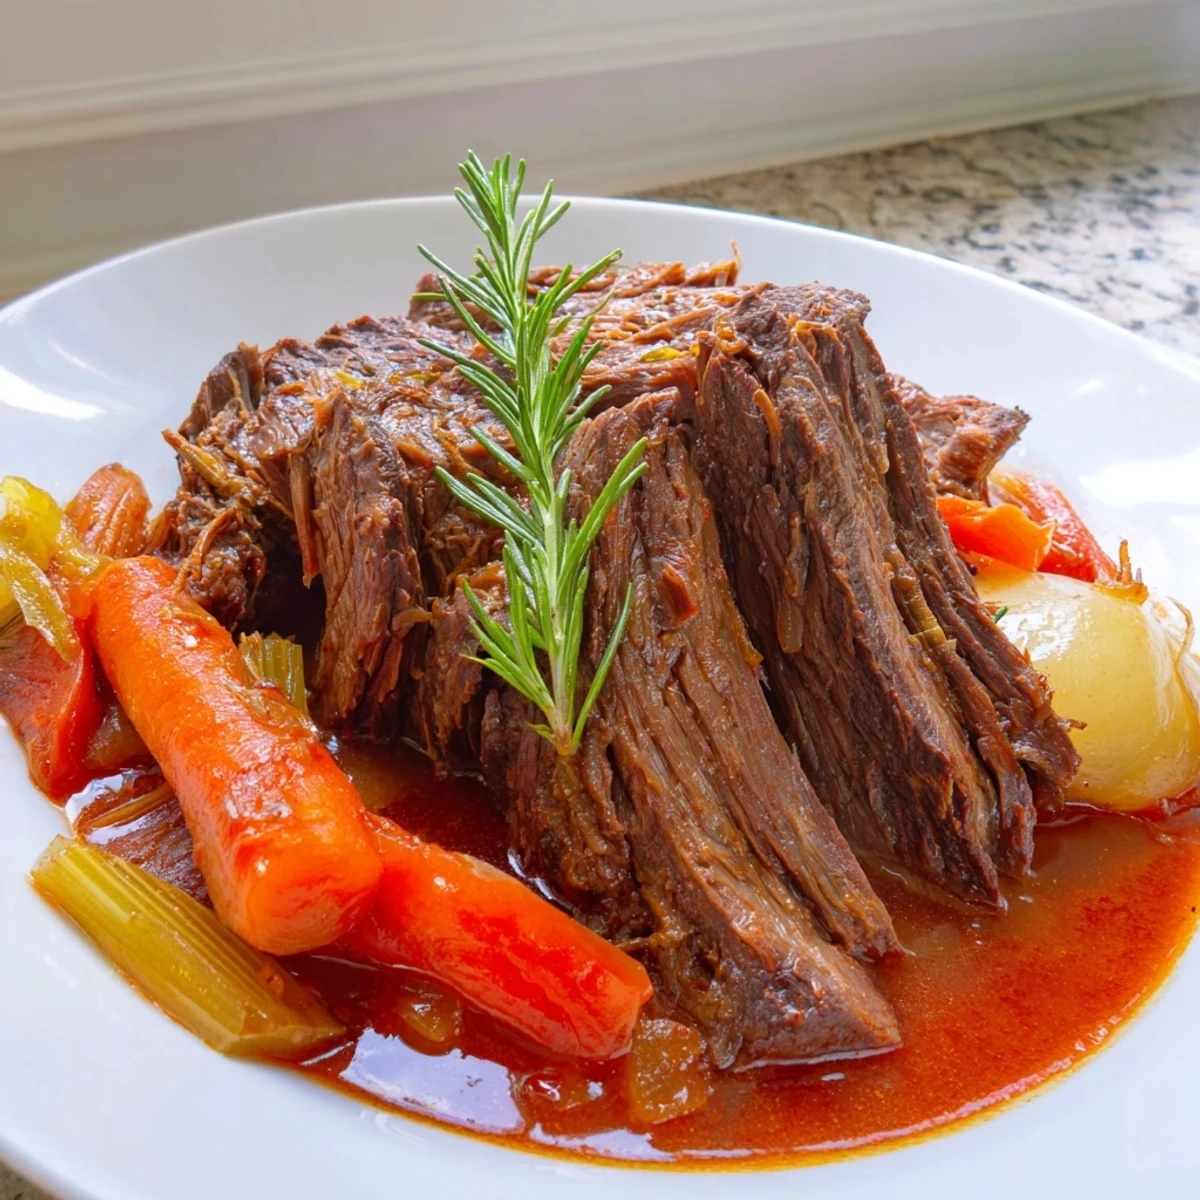
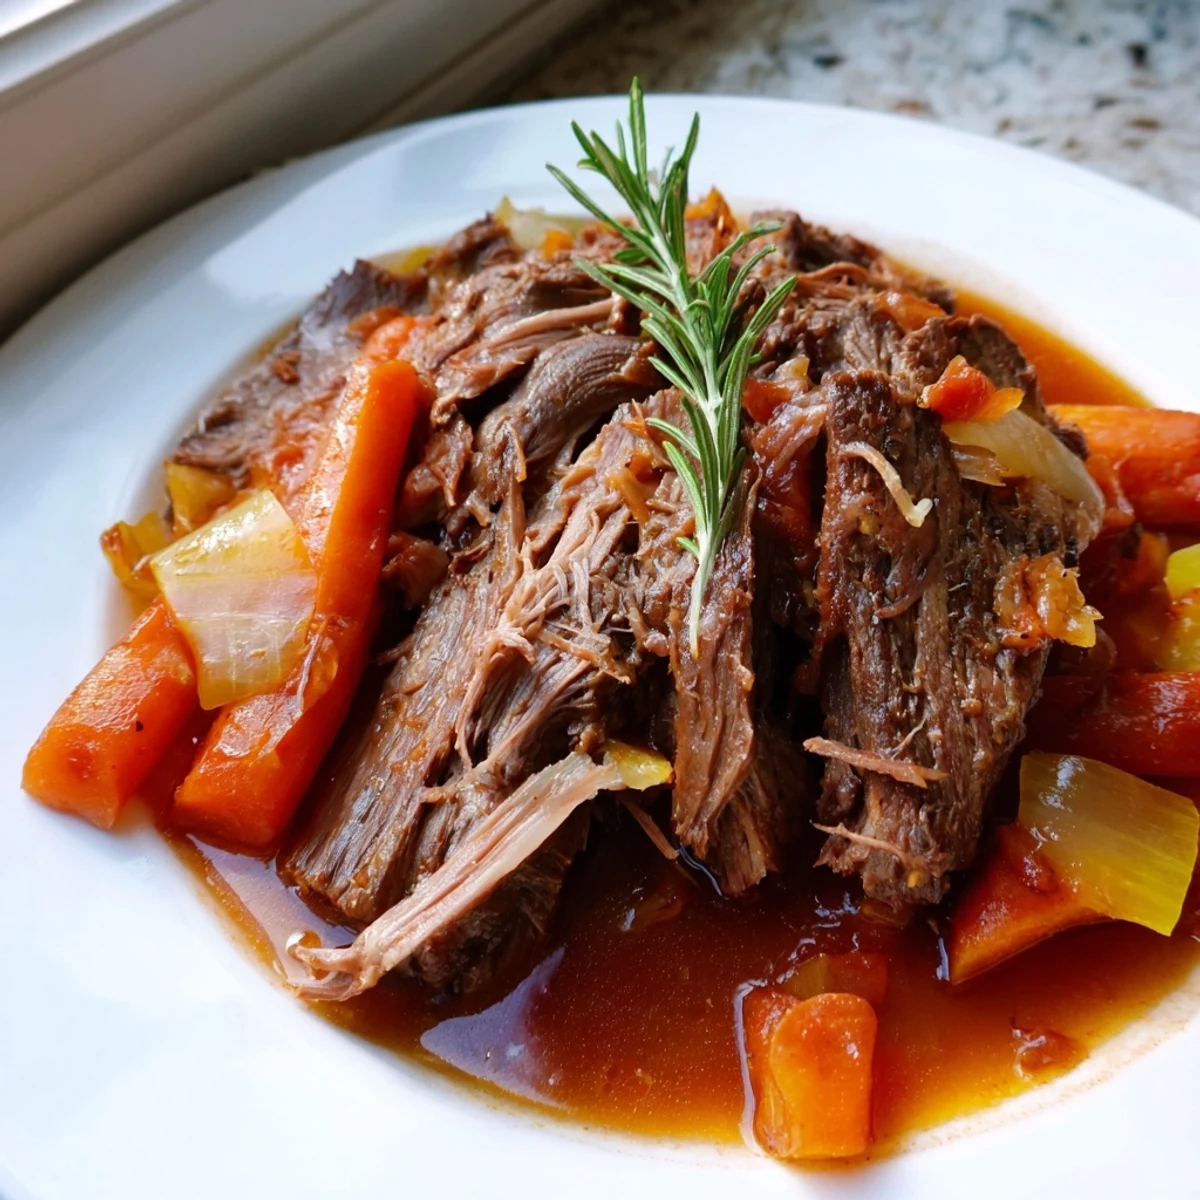
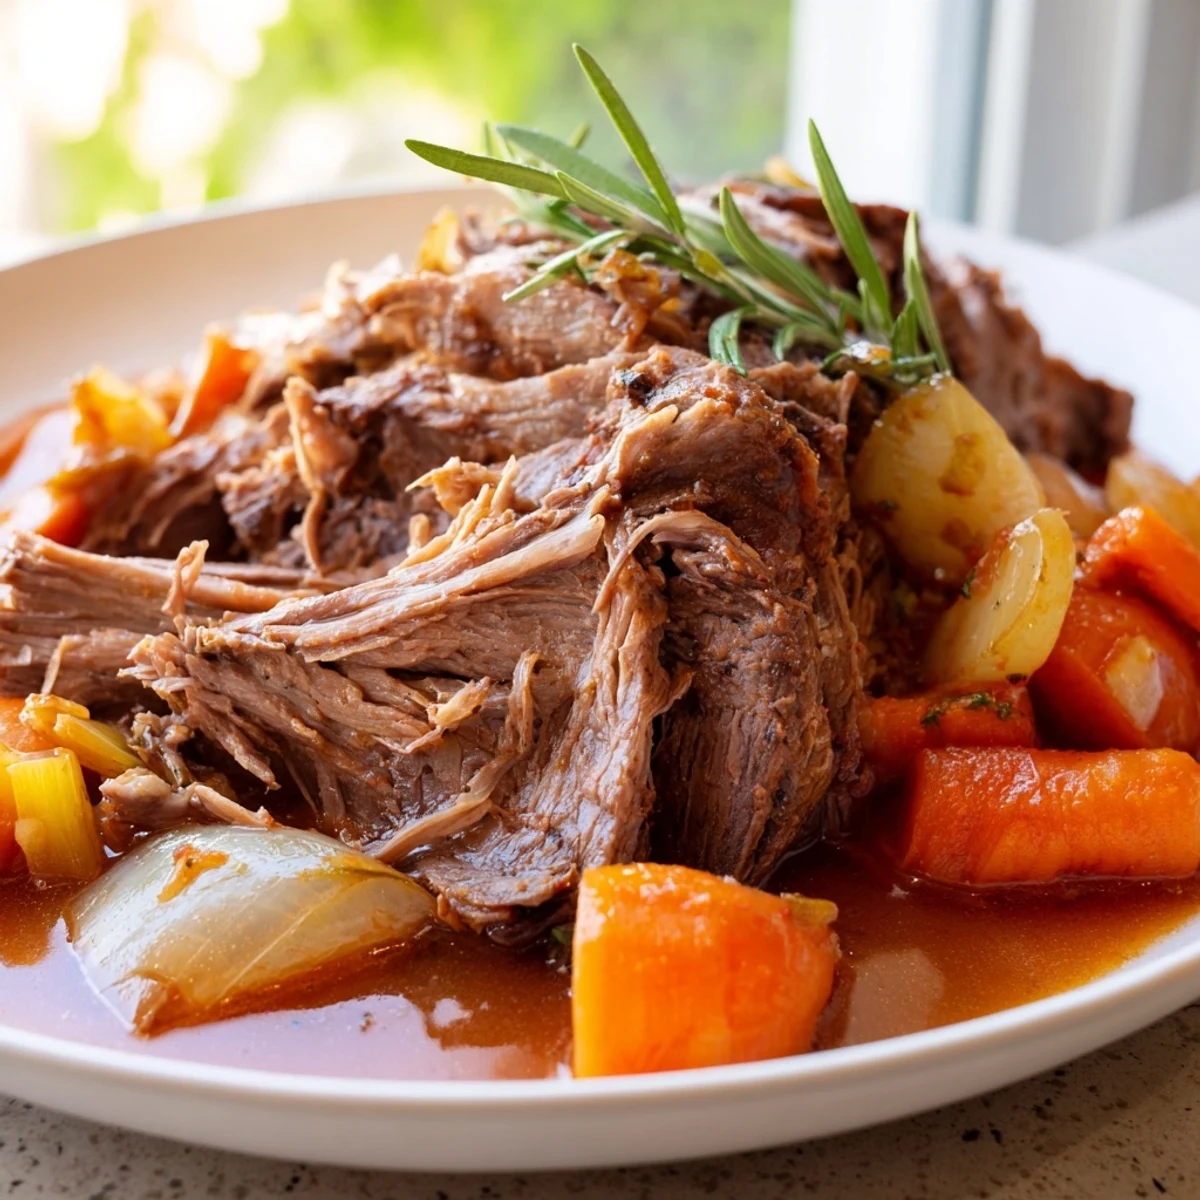
 This classic American pot roast transforms a humble beef chuck into a melt-in-your-mouth centerpiece through low, slow braising in the oven. Searing the meat first creates a deeply caramelized crust, while aromatic vegetables, red wine, and beef broth build layers of rich, savory flavor over three hours.
The result is fork-tender beef surrounded by soft, flavorful carrots, celery, and onions, all bathed in luscious pan juices. Serve it family-style with crusty bread or mashed potatoes for a comforting Sunday supper that fills the house with incredible aromas.
The house smelled like a Sunday I never wanted to end, and it all started because I burned the first roast and refused to let a chunk of beef defeat me. That second attempt, the one where I actually paid attention to the sear, changed everything about how I cook. Pot roast is not glamorous, but there is something deeply satisfying about transforming a tough cut into something that falls apart under a fork.
My neighbor Dave wandered over one cold evening when I had this in the oven, and he stood in my kitchen doorway just breathing in. He stayed for two helpings and brought his own container the next time he saw me making it.
Ingredients
- 1 (3 to 4 lb) beef chuck roast: Chuck is the only cut worth using here because the marbling breaks down during the braise and keeps everything juicy.
- 3 large carrots, peeled and cut into large pieces: Big chunks hold their shape through hours of cooking and soak up the broth beautifully.
- 3 celery stalks, cut into chunks: These disappear into the background flavor, which is exactly what you want.
- 1 large yellow onion, quartered: Do not skip the onion because it builds the foundation of sweetness in the braising liquid.
- 3 to 4 cloves garlic, smashed: Smashed rather than minced so you get gentle garlic flavor without it overpowering everything.
- 2 cups beef broth: Make sure it is certified gluten free if that matters to you, because not all brands are.
- 1 cup dry red wine: Use something you would actually drink, and if you prefer to skip it, just add another cup of broth.
- 2 tablespoons tomato paste: This small amount adds a subtle richness and helps deepen the color of the sauce.
- 2 teaspoons kosher salt: Season generously because the long cook time mellows the saltiness considerably.
- 1 teaspoon freshly ground black pepper: Freshly ground makes a real difference here compared to pre ground.
- 1 teaspoon dried thyme: Thyme and beef are old friends that never let each other down.
- 2 sprigs fresh rosemary: Whole sprigs are easy to fish out before serving.
- 2 bay leaves: Do not forget to remove these before serving because nobody wants to bite into one.
- 2 tablespoons olive oil: Just enough to get a proper sear on the meat.
Instructions
- Get the oven ready:
- Set your oven to 300 degrees Fahrenheit and move a rack to the lower middle position so your Dutch oven sits comfortably with even heat around it.
- Dry and season the meat:
- Pat the chuck roast completely dry with paper towels because any moisture will fight the sear. Sprinkle salt and pepper generously on every side and let it sit for a few minutes while the pot heats.
- Build the crust:
- Heat olive oil in your Dutch oven over medium high heat until it shimmers, then lay the roast in and do not touch it for at least four minutes per side until you see a deep brown crust forming.
- Wake up the vegetables:
- Transfer the roast to a plate and drop in the onions, carrots, and celery, stirring them around for about five minutes until they pick up some color and smell incredible.
- Add garlic and tomato paste:
- Stir in the smashed garlic and tomato paste for about one minute until everything turns fragrant and slightly darkened.
- Deglaze the pot:
- Pour in the red wine and use a wooden spoon to scrape up every last browned bit from the bottom because that is where all the concentrated flavor lives. Let it bubble for two to three minutes.
- Braise low and slow:
- Nestle the roast back into the pot, pour in the broth, and tuck in the thyme, rosemary, and bay leaves. Bring it to a gentle simmer on the stovetop, then cover tightly and slide it into the oven for three hours.
- Finish and serve:
- Pull the pot from the oven and carefully remove the lid, discarding the bay leaves and herb stems. The roast should yield completely to a fork, so slice or shred it and serve over the vegetables with pan juices spooned on top.
 Save to Pinterest
 The first time I served this to my family, my mother in law asked for the recipe, and I realized that a pot roast is really just an edible way of saying you care about someone.
What to Serve Alongside
Mashed potatoes are the obvious choice and they are the right one, but buttered egg noodles or even a pile of crusty bread work just as well for soaking up the braising liquid. I have also served it over creamy polenta on nights when I wanted something a little more elegant without any extra effort.
Making It Your Own
Throw in a few parsnips or halved small potatoes during the last hour of cooking if you want more vegetables in the pot. A tablespoon of Worcestershire sauce added with the broth gives an extra umami kick that I discovered by accident one evening and now rely on every time.
Storing and Reheating
This roast keeps beautifully in the refrigerator for up to four days, and the flavor actually improves overnight as everything melds together. Shredded leftovers make incredible sandwiches with a sharp horseradish spread, or you can drop them into a pot of soup for an effortless second meal.
- Store the meat and vegetables together in the braising liquid so nothing dries out.
- Reheat gently on the stovetop over low heat rather than using the microwave.
- Freeze individual portions in airtight containers for up to three months for easy weeknight dinners.
 Save to Pinterest
 A good pot roast teaches you patience and rewards you with the kind of meal that makes people sit at the table a little longer. That alone is worth turning on the oven.
Recipe FAQs
- → What cut of beef works best for pot roast?
-
Beef chuck roast is the ideal choice for pot roast. Its generous marbling and connective tissue break down during the long, slow cooking process, resulting in exceptionally tender, flavorful meat. Other good options include brisket or bottom round, but chuck delivers the most consistent, melt-in-your-mouth texture.
- → Can I make pot roast without red wine?
-
Absolutely. Simply replace the red wine with an additional cup of beef broth. The tomato paste adds depth and a subtle tang that helps mimic the complexity wine would normally contribute. For a slightly different flavor profile, you could also use a splash of balsamic vinegar or apple cider vinegar.
- → Why do I need to sear the roast before braising?
-
Searing creates a deeply browned, caramelized crust through the Maillard reaction, which adds significant flavor to both the meat and the braising liquid. Those browned bits left on the bottom of the pot, called fond, dissolve during deglazing and enrich the entire dish with savory, concentrated taste.
- → How do I know when the pot roast is done?
-
The roast is ready when it is fork-tender, meaning a fork slides in and out of the meat with almost no resistance. This typically takes about 3 hours at 300°F. You should be able to easily shred or pull apart the beef. If it still feels tough or requires effort to pierce, continue cooking in 30-minute increments.
- → Can I add potatoes to this pot roast?
-
Yes, adding potatoes is a wonderful addition. Cut them into large, even chunks and add them during the last hour of cooking so they become tender without falling apart completely. Yukon Gold or red potatoes hold their shape particularly well in braised dishes.
- → How should I store and reheat leftovers?
-
Store leftover pot roast with its juices in an airtight container in the refrigerator for up to 4 days. The flavors actually improve overnight. Reheat gently in a covered pot over low heat on the stove, adding a splash of broth if needed. Leftovers also make excellent sandwiches, soups, or hash.