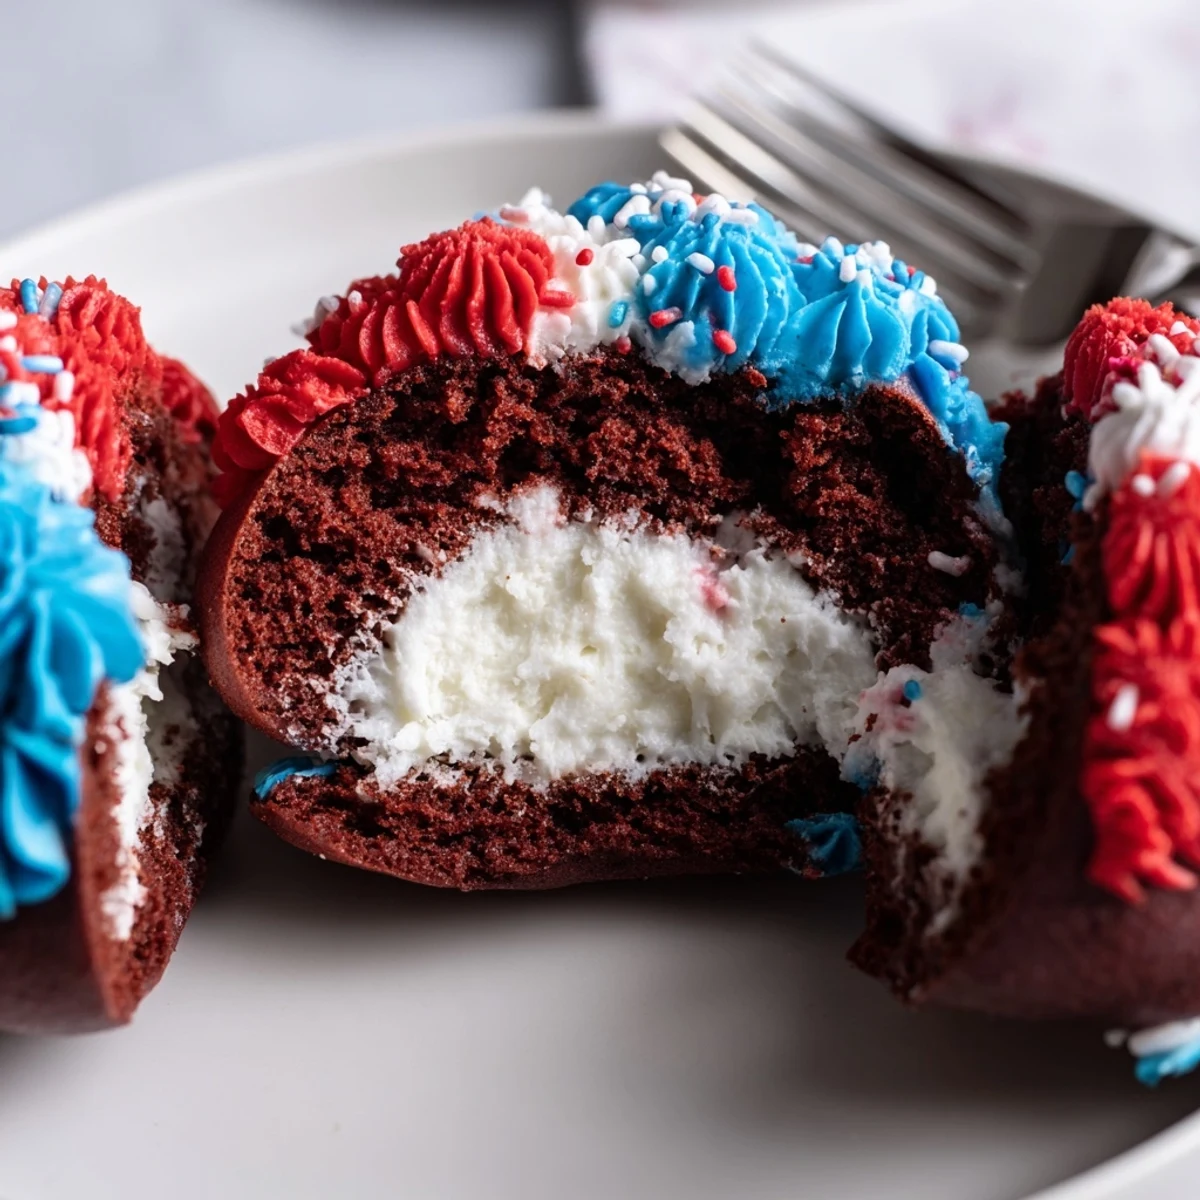
 Save to Pinterest
 Patriotic whoopie pies are a perfect treat for holidays like July 4th or Memorial Day. Featuring soft, cake-like chocolate cookies sandwiched with marshmallow filling, these desserts come alive in vibrant red, white, and blue. Prepare and bake the chocolaty cakes, whip up a smooth marshmallow filling, and add festive sprinkles or colorful frosting for added holiday flair. Ready in about an hour, these delightful pies are vegetarian-friendly and easy to make. Enjoy them chilled for a refreshing dessert that’s sure to impress at your next celebration.
Halfway through a backyard barbecue last July, the unmistakable aroma of chocolate drifted from my kitchen, making my cousin pause mid-sentence. That was my first hint these patriotic whoopie pies would steal the show—the hum of cicadas outside, someone fanning themselves with a napkin, and suddenly everyone looking toward the dessert tray. There&aposs a certain thrill whenever a platter of red, white, and blue treats arrives unexpectedly, especially when the cookies are pillowy and a little messy. I can still hear the delighted oohs when the first whoopie pie cracked open to reveal that swirl of festive filling.
There was one Fourth of July when we nearly skipped dessert, believing we were too tired for anything elaborate. But with a few mixing bowls and some reckless piping, these came together, and suddenly the whole family was hovering around the kitchen island, debating which color filling was the best. What began as a simple patriotic gesture quickly became a new holiday tradition—one my youngest cousin has begged for every Memorial Day since.
Ingredients
- All-purpose flour: Use plain flour for structure; sift if you want the lightest cakes possible.
- Unsweetened cocoa powder: Dutch-process deepens the color and flavor, but any unsweetened cocoa works.
- Baking soda: Don&apost skip this—its lift helps create the whoopie pie&s signature softness.
- Salt: Even a pinch brings out the chocolate in the cakes and balances the sweet filling.
- Granulated sugar: Cream it well with butter for a fine crumb and gentle sweetness.
- Unsalted butter (softened): Room temperature butter is key; cold will leave lumps, melted will make the batter runny.
- Egg (large): Just one binds everything gently; crack it into a small bowl first to avoid any shell surprises.
- Buttermilk: This makes the cakes extra tender and just a bit tangy—don&apost substitute with milk unless you add lemon juice.
- Vanilla extract: The aroma alone makes it worth the splash; real extract gives the deepest flavor.
- Powdered sugar: Sift for a super smooth filling; lumpy sugar equals lumpy frosting.
- Marshmallow creme: The magic ingredient—sticky, marshmallowy, and so easy to blend into frosting.
- Red and blue food coloring: Gel colors give vibrant results with just a few drops.
- Patriotic sprinkles: Toss them on for instant flair—my tip: roll edges carefully to avoid a sprinkle avalanche.
Instructions
- Get ready:
- Preheat your oven to 350°F and line two baking sheets with parchment—it keeps cleanup easy and the cakes from sticking.
- Mix the dry stuff:
- Whisk together flour, cocoa, baking soda, and salt in a bowl; this step feels so simple but means everything for a tender crumb.
- Cream the butter and sugar:
- In a larger bowl, beat the butter and sugar until it&aposs fluffy and pale, then blend in your egg—don&apost rush, give it a good minute or two.
- Add the milky magic:
- Pour in buttermilk and vanilla, swirling them into the mix, then add the dry mixture gradually; the batter should look glossy and smooth.
- Scoop and bake:
- Drop 24 even rounds—about a tablespoon each—onto the trays, spacing them so they have room to puff; bake 10-12 minutes, then cool on a rack until no trace of warmth remains.
- Whip up the filling:
- Cream softened butter, powdered sugar, marshmallow creme, vanilla, and salt until airy; it should hold soft peaks and taste irresistible.
- Tint the frosting:
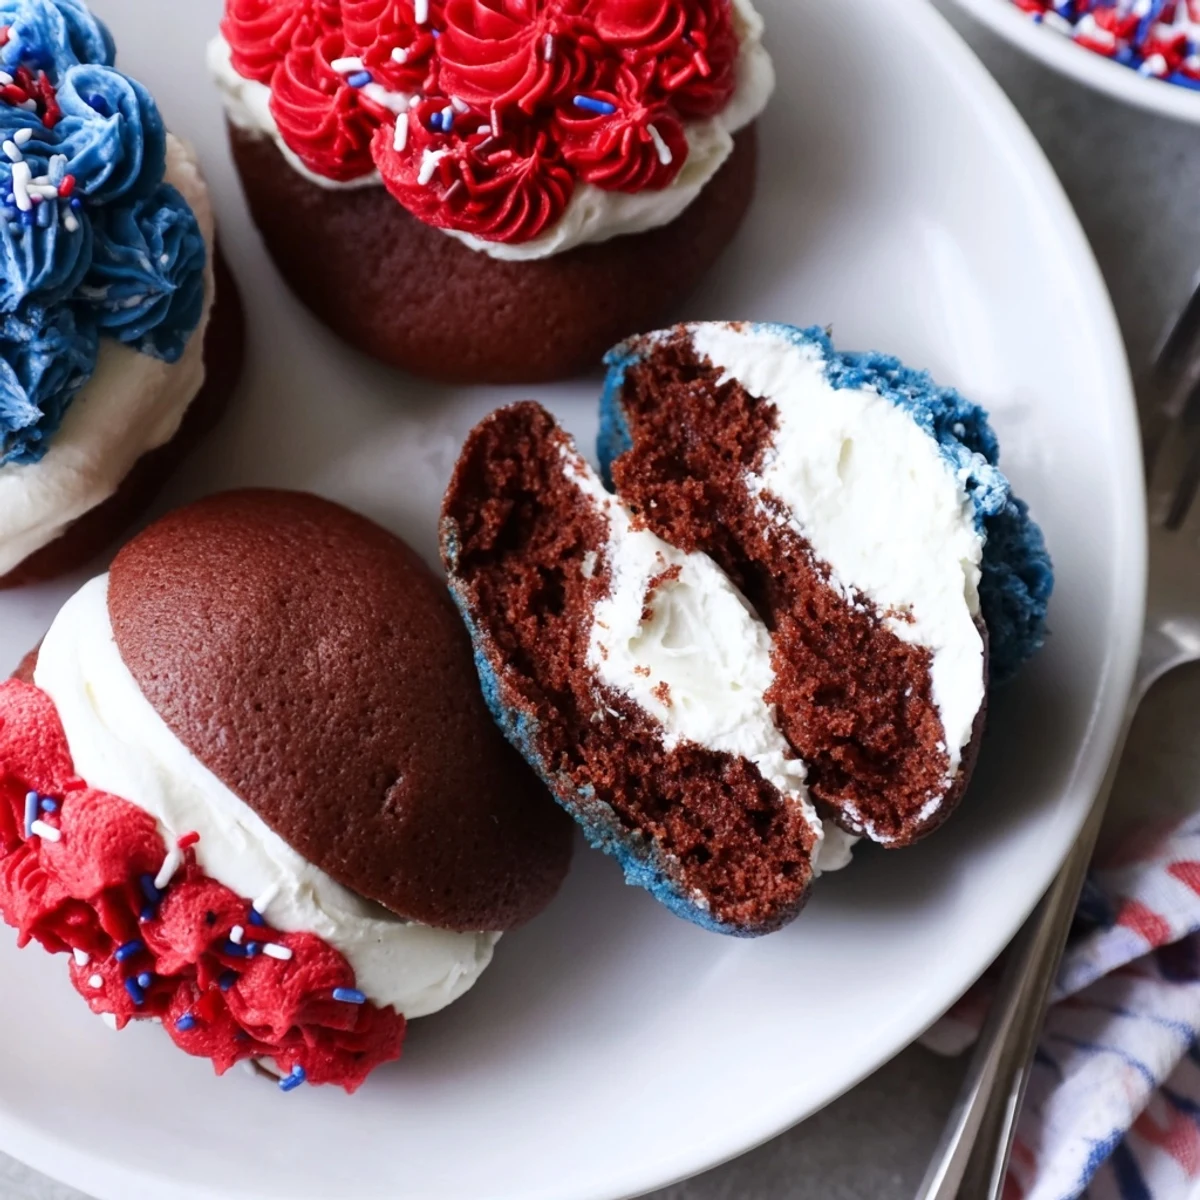
- Divide the filling among three bowls. Leave one white, color another red, and the third blue—just a drop or two of gel is enough for bold shades.
- Assemble sandwiches:
- Pipe or spoon generous mounds of filling onto the flat side of half the cakes, sandwich with the others, and press lightly to set.
- Decorate in style:
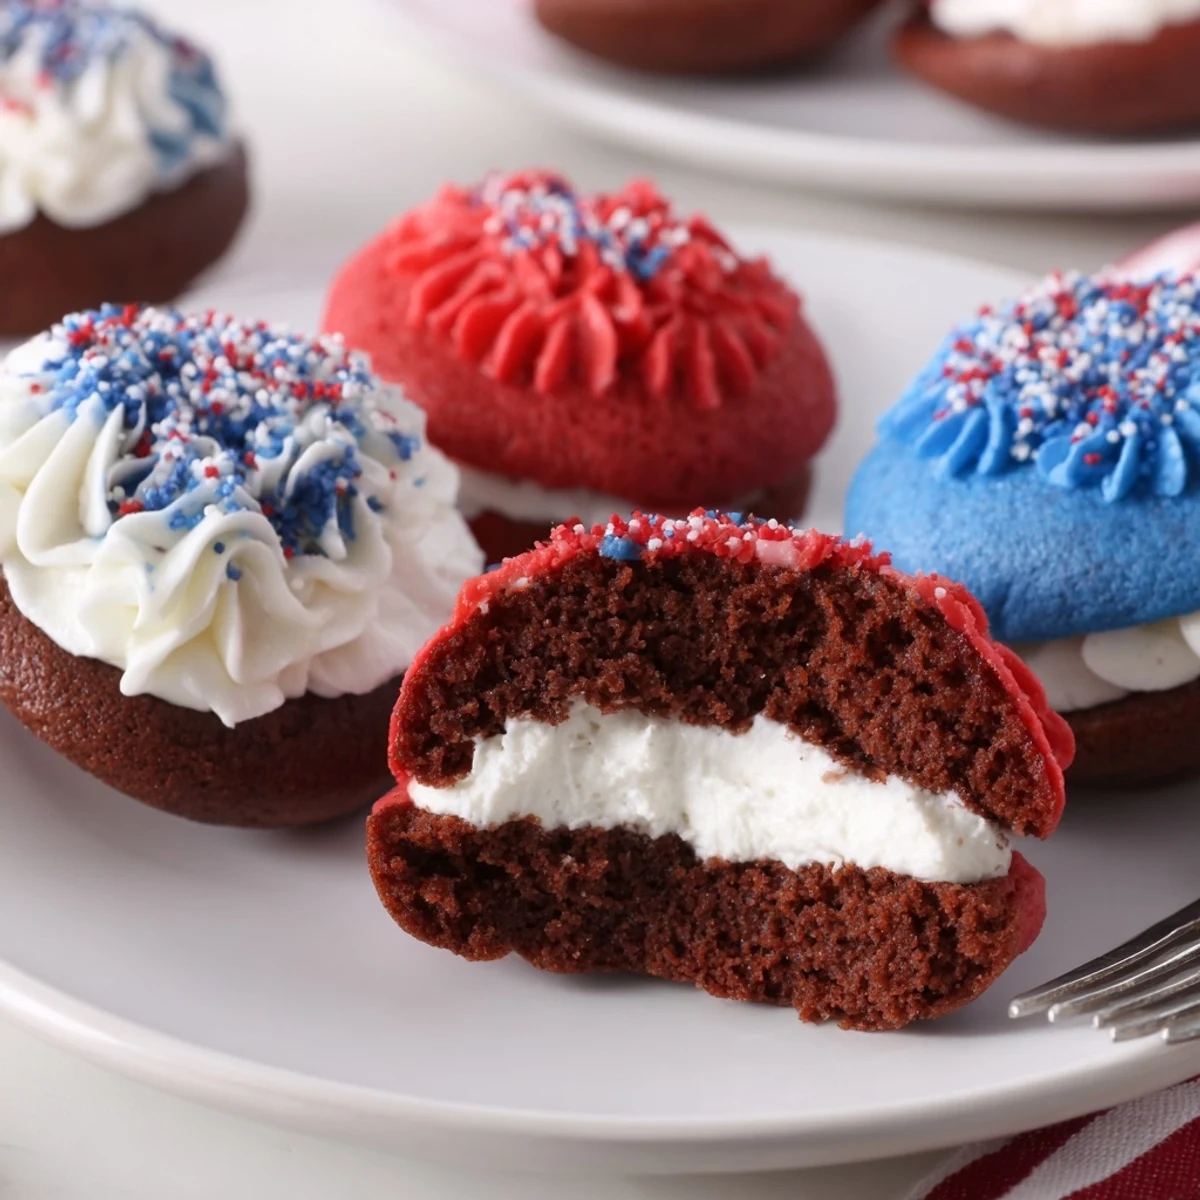
- Roll the edges in sprinkles or pipe an extra swirl on top; they shine brightest piled high on a platter.
 Save to Pinterest
 The night we made these for our town's fireworks picnic, one neighbor traded two grilled drumsticks just to nab the last whoopie pie. In the flurry of laughter and finger licking, the kitchen felt less like chore and more like celebration—icing on cheeks, sprinkles on the floor, and sweet memories layered between every cookie.
What Makes Them Festive
There&aposs nothing quite like unboxing those little jars of red and blue gel and swirling them just right into the marshmallow filling. Every swirl came out different, and our hands looked like abstract painters by the end. Even the mess adds to the celebration; the more colorful the batter and the bolder the sprinkles, the faster they vanish from the table.
Making It Your Own
Once, we swapped in rainbow sprinkles for a birthday bash—you can tweak the theme for any occasion. Mini chocolate chips in the batter work beautifully if you want something even more decadent. Experimenting with citrus zest in the filling or different types of cocoa led to some wild but tasty variations.
Last Touches for Success
Don&apost hesitate to chill the assembled whoopie pies—the filling stays perky and the flavors meld. If you're prepping ahead, store them in a single layer and keep your sprinkles handy until just before serving for extra crunch. These little sandwiches look (and taste) like you spent hours, even if you whipped them up in under an hour.
- Let the cakes cool fully before adding filling for best texture.
- Use piping bags for cleaner, neater filling swirls.
- Store in the fridge if it&aposs a hot day and you want spiffy, not sticky, whoopie pies.
 Save to Pinterest
 Make these once and you'll find any excuse for a red, white, and blue dessert all year round. Sharing them always brings more smiles—and maybe a few colorful fingers, too.
Recipe FAQs
- → How can I make the colors more vibrant?
-
Use gel food coloring for more vibrant red and blue shades in the frosting.
- → Can I make these gluten-free?
-
Yes, substitute all-purpose flour with a gluten-free flour blend for a gluten-free version.
- → What can I use instead of a piping bag?
-
If you don't have a piping bag, you can use a zip-top bag with a corner snipped off or spoon the filling onto the cakes.
- → How should I store the whoopie pies?
-
Store them in an airtight container in the refrigerator for up to 3 days. Bring them to room temperature before serving.
- → Can I freeze these for later use?
-
Yes, you can freeze the undecorated whoopie pies in an airtight container. Add decoration after thawing.
- → What’s the best way to handle sticky filling?
-
Chill the assembled pies for 30 minutes to make them easier to handle without the filling sticking.