 Save to Pinterest
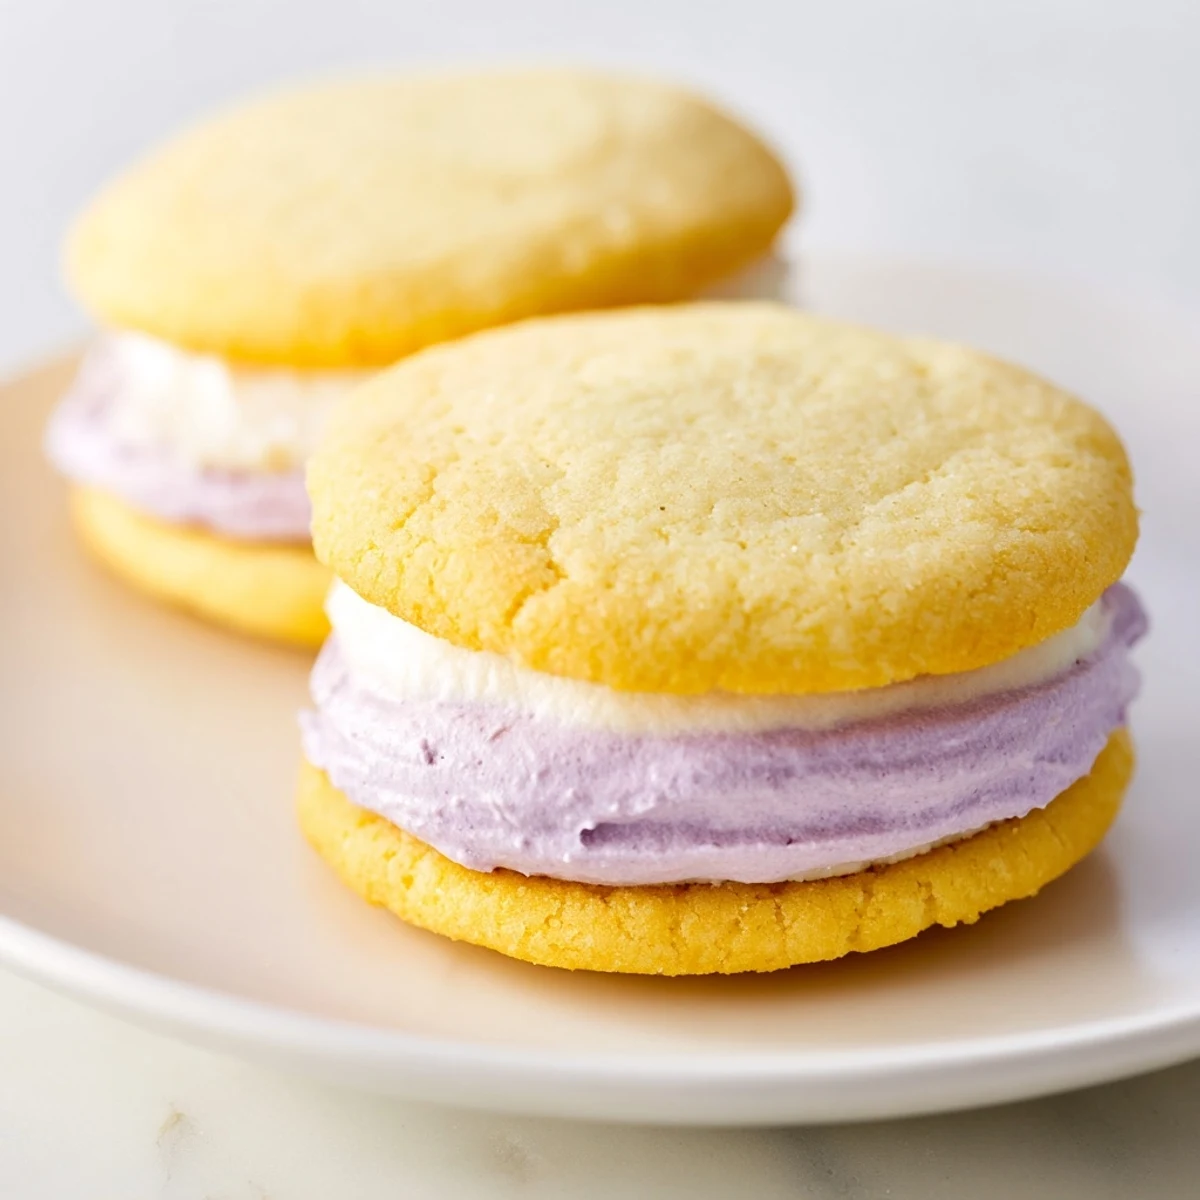
 Create delightful sandwich cookies featuring tender sugar cookies paired with colorful pastel buttercream. The process involves making a classic sugar cookie dough, chilling for easy rolling, then baking until lightly golden. The filling starts with creamy butter beaten until smooth, then enriched with powdered sugar and vanilla before dividing and tinting with soft pastel gel colors. Assembly brings everything together—spread or pipe the vibrant filling onto cooled cookies and top with another to form charming sandwiches. These handheld treats capture the essence of spring with their soft hues and buttery sweetness.
Last Easter, my niece demanded we bake something that looked like a fairytale, and these pastel sugar cookie sandwiches were born. We made such a mess with food coloring that my kitchen looked like a confetti explosion, but the way her face lit up when she assembled that first pink-and-yellow sandwich was absolutely worth every speck of glitter on the floor.
I brought these to a spring potluck and watched three different people ask for the recipe within ten minutes of arriving. Someone actually accused me of buying them from a fancy bakery, which I took as the highest compliment imaginable.
Ingredients
- 2 ½ cups all-purpose flour: This foundation creates the perfect tender crumb without becoming too delicate to handle
- ½ teaspoon baking powder: Just enough lift to give the cookies a subtle puff while maintaining that classic shortbread texture
- ¼ teaspoon salt: Balances the sweetness and brings out all the vanilla flavors
- ¾ cup unsalted butter, room temperature: The backbone of both cookies and buttercream, so make sure it is properly softened for smooth incorporation
- 1 cup granulated sugar: Creates that delicate crisp edge while keeping centers soft
- 1 large egg: Adds structure and helps bind the dough together
- 1 teaspoon pure vanilla extract: Do not skimp here because high quality vanilla makes all the difference
- ½ cup unsalted butter, room temperature: For the buttercream, use the same good quality butter as the cookies
- 2 cups powdered sugar, sifted: Sifting first prevents those frustrating lumps in your finished buttercream
- 1 ½ tablespoons milk: Adjust this amount to reach your perfect buttercream consistency
- 1 teaspoon pure vanilla extract: Reinforces the cookie flavor for a cohesive taste throughout
- Pinch of salt: A tiny pinch cuts through the sweetness of the frosting beautifully
- Pastel gel food coloring: Gel colors give you those soft dreamy hues without thinning out the buttercream
Instructions
- Whisk the dry foundation:
- In a medium bowl, combine the flour, baking powder, and salt until everything is evenly distributed.
- Cream butter and sugar:
- Beat the butter and sugar on medium speed for about 2 to 3 minutes until the mixture looks pale and fluffy.
- Add egg and vanilla:
- Mix in the egg and vanilla extract, scraping down the sides of the bowl to ensure everything combines evenly.
- Incorporate the dry ingredients:
- Gradually add the flour mixture, mixing just until the flour disappears into the dough.
- Chill the dough:
- Divide the dough in half, press into discs, wrap tightly, and refrigerate for at least 30 minutes to prevent spreading.
- Prep your workspace:
- Preheat your oven to 350°F and line two baking sheets with parchment paper for easy cleanup.
- Roll and cut:
- On a lightly floured surface, roll one disc to ¼ inch thickness and cut rounds with a 2 inch cutter.
- Bake to perfection:
- Bake for 8 to 10 minutes until you see the slightest golden hint on the edges.
- Cool completely:
- Let the cookies rest on the baking sheets for 2 minutes before moving them to cooling racks.
- Prepare the buttercream:
- Beat the butter until creamy, then gradually add powdered sugar, milk, vanilla, and salt until smooth and fluffy.
- Create pastel magic:
- Divide the buttercream into small bowls and tint each with a different pastel gel coloring.
- Assemble the sandwiches:
- Spread or pipe buttercream onto half the cookies and top with remaining cookies to create sandwiches.
- Set before serving:
- Let the assembled cookies rest for 20 minutes to allow the buttercream to firm up slightly.
 Save to Pinterest
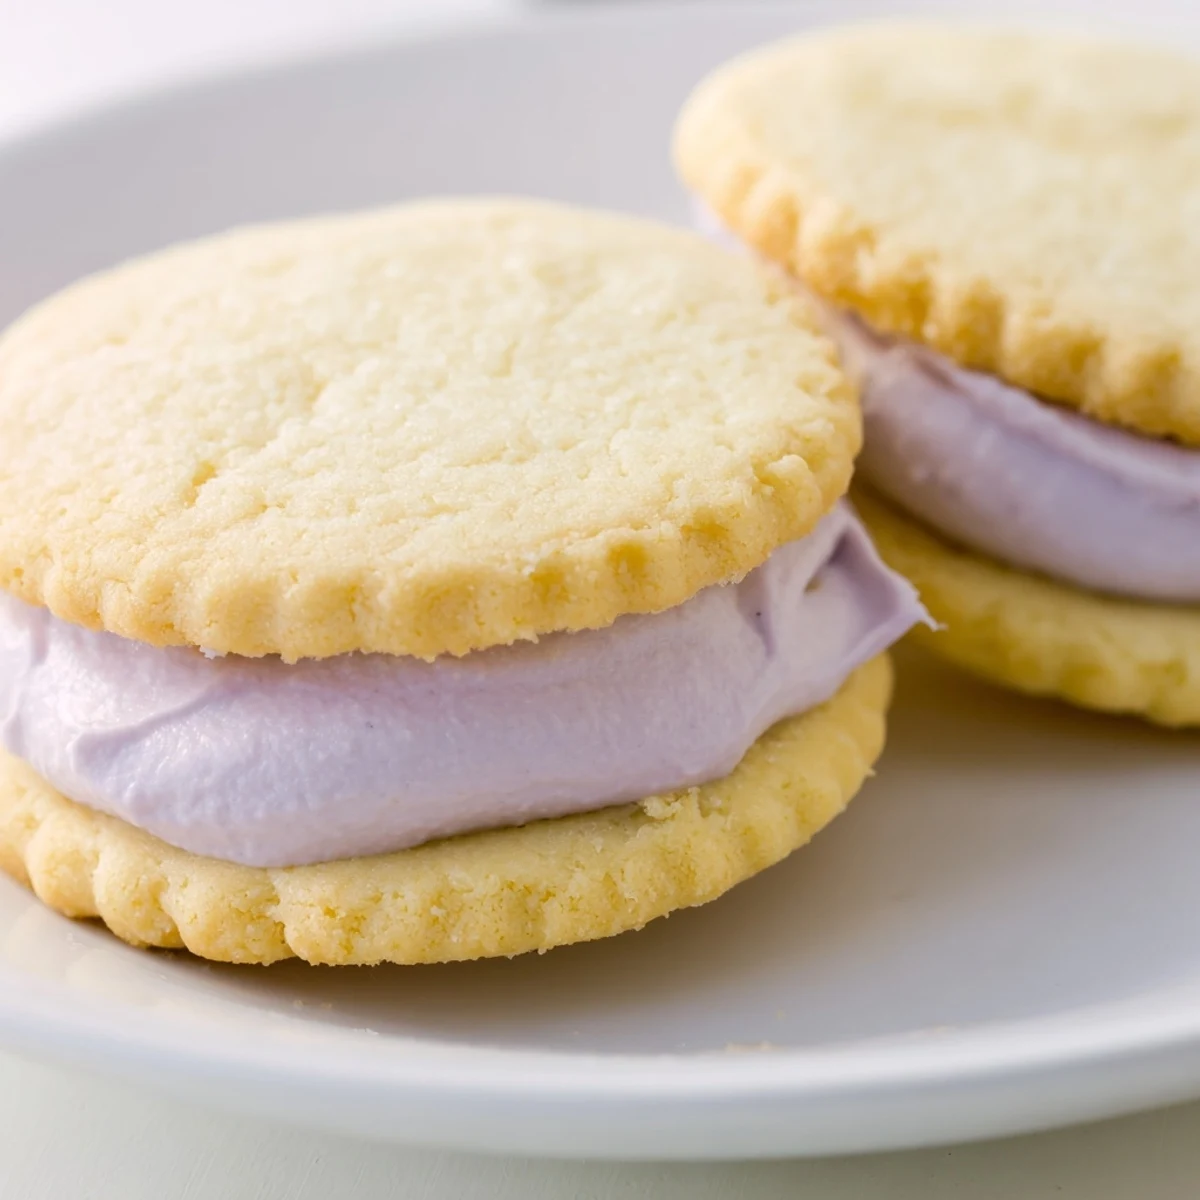
 My grandmother kept a tin of these on her counter during spring visits, and I swear they tasted better on day two when the flavors had melded together into something extraordinary.
Getting Those Perfect Pastel Shades
Start with a tiny amount of gel coloring on a toothpick because you can always add more but you cannot take it back. I learned this lesson the hard way after turning a perfectly soft pink into shocking neon that would not tone down no matter how much white frosting I added.
Making Assembly Efficient
Set up an assembly line with all your cooled cookies and buttercream colors ready to go. I used to pipe individually until I realized filling a piping bag with one color and knocking out all those sandwiches at once was so much faster and gave more consistent results.
Storage and Transport Tips
Layer these between parchment paper in an airtight container and they will stay perfect for three days at room temperature. If you need to transport them, place the container flat and avoid stacking anything on top or you will end up with squished sandwiches instead of the pretty towers you intended.
- Freeze unfilled cookies for up to a month and thaw when you need fresh cookies
- Bring buttercream to room temperature before assembling if you have stored it
- Avoid refrigerating the finished sandwiches because the cold makes the cookies lose their tender texture
 Save to Pinterest
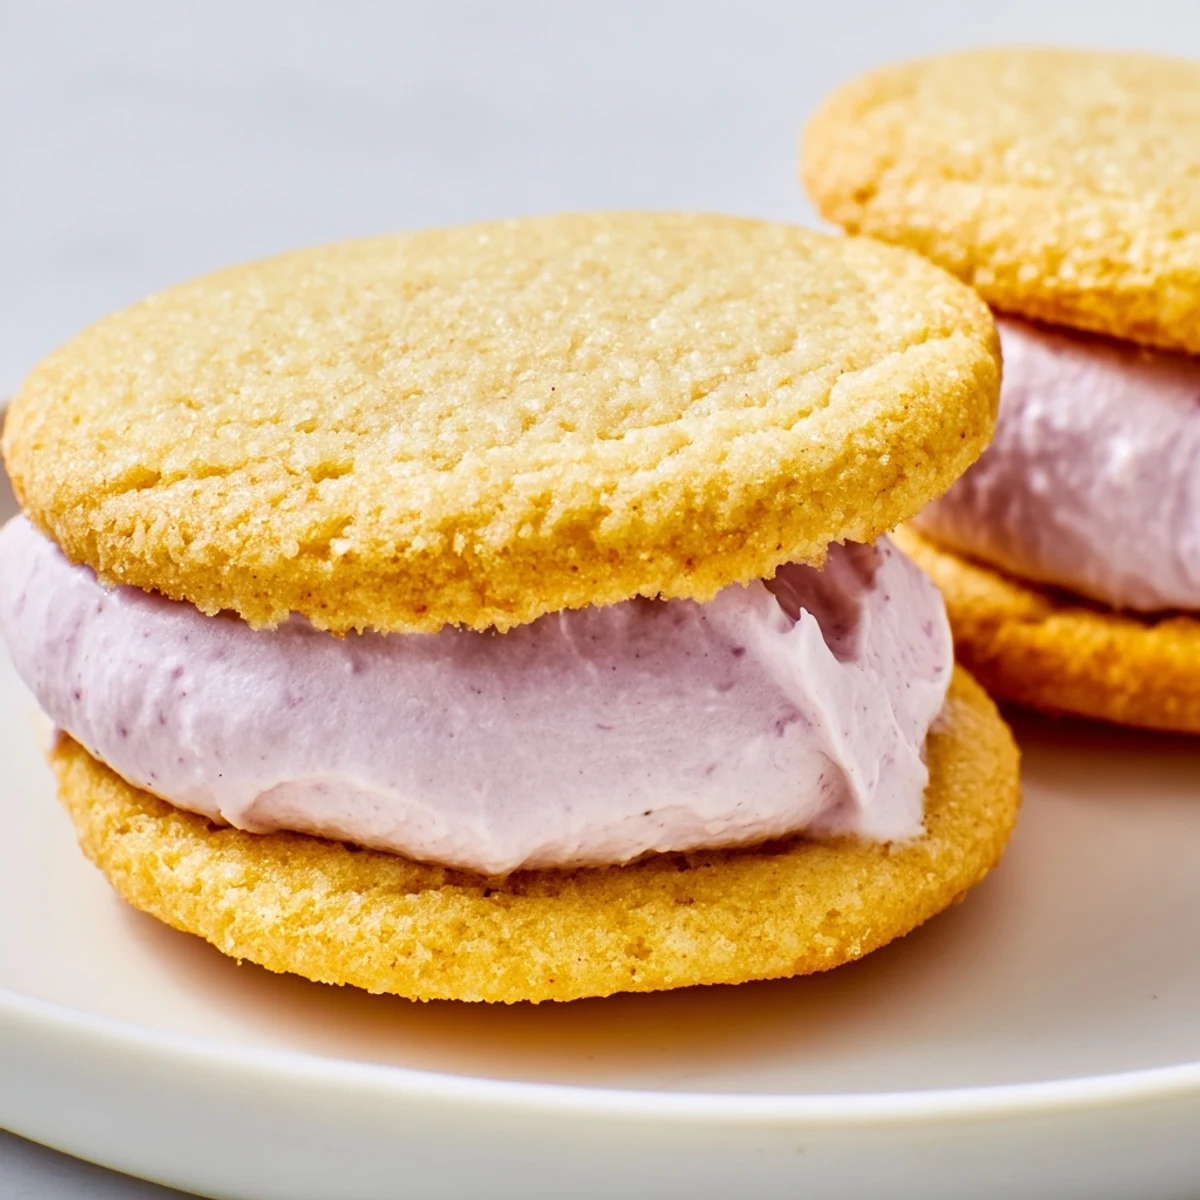
 There is something so satisfying about biting into that crisp cookie shell and hitting the cloud of buttercream inside, like finding a little surprise wrapped up just for you.
Recipe FAQs
- → How long should I chill the cookie dough?
-
Refrigerate the dough for at least 30 minutes before rolling. This chilling period prevents the cookies from spreading too much during baking and makes the dough easier to work with when cutting out shapes.
- → Can I make these ahead of time?
-
Yes, you can prepare the dough up to 2 days in advance and store it wrapped in the refrigerator. Baked cookies without filling stay fresh for 3-4 days in an airtight container. Assembled sandwiches are best enjoyed within 3 days.
- → What type of food coloring works best?
-
Gel food coloring provides the most vibrant pastel shades without adding excess liquid to your buttercream. Liquid food coloring can make the filling too thin, while gel delivers concentrated color with just a few drops.
- → Why did my cookies spread too much?
-
Excess spreading usually occurs when the dough is too warm before baking. Ensure proper chilling time and work quickly when rolling and cutting. A hot baking sheet can also cause spreading—let sheets cool between batches.
- → Can I freeze these sandwich cookies?
-
You can freeze unbaked dough discs for up to 3 months. Thaw overnight in the refrigerator before baking. Fully assembled cookies can be frozen for 1-2 months—wrap individually and place in an airtight container, then thaw at room temperature.