 Save to Pinterest
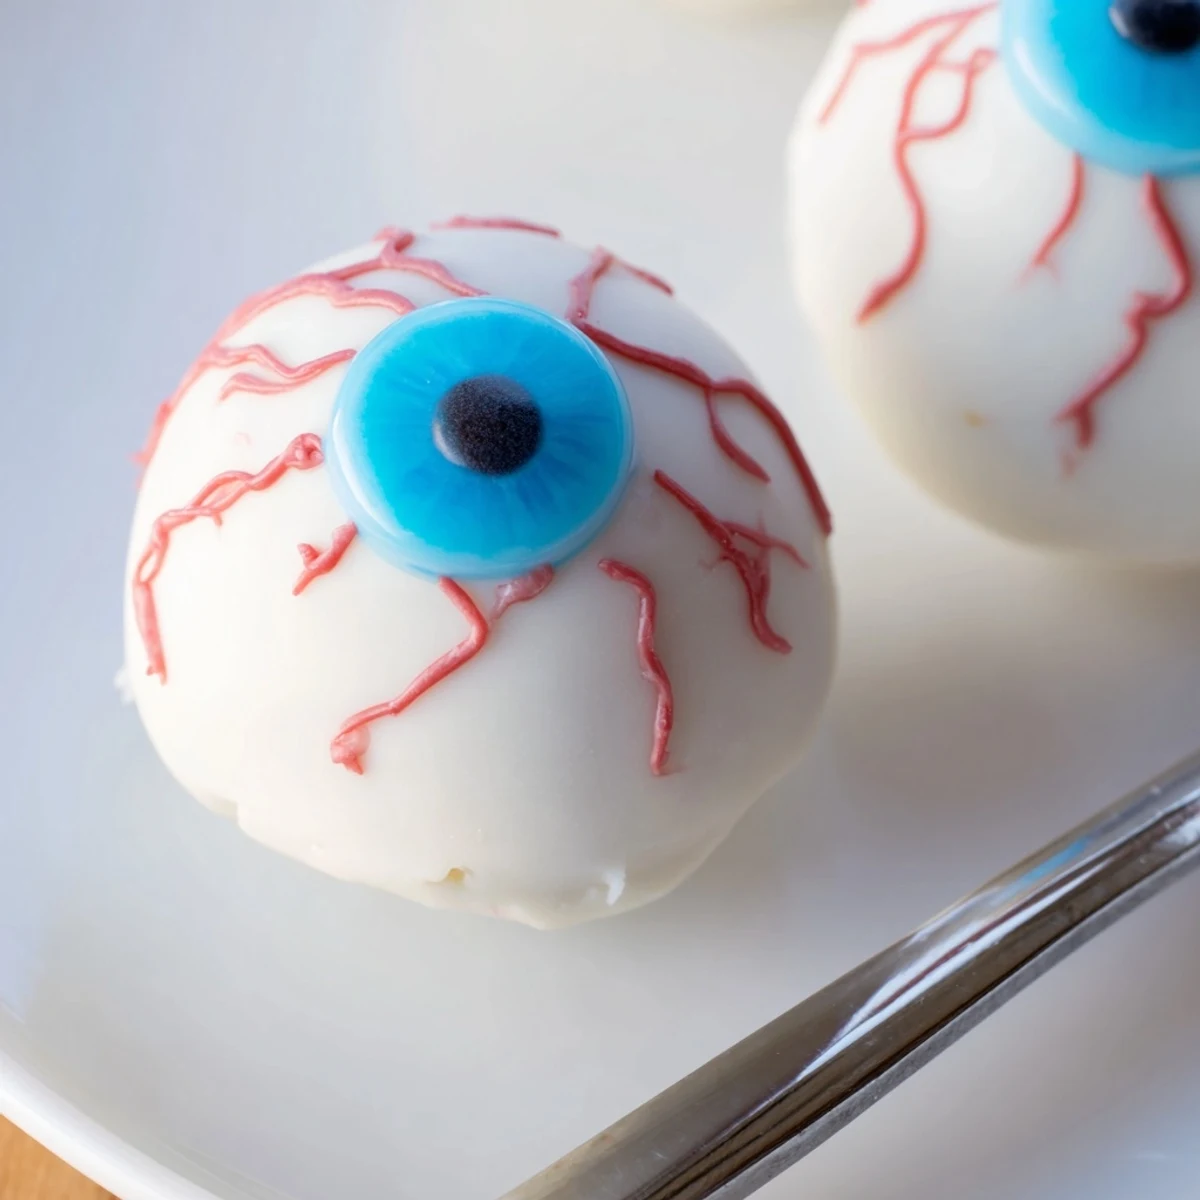
 These Halloween cake eyeballs combine moist vanilla cake with smooth cream cheese frosting, all enrobed in white chocolate and decorated to look like spooky eyeballs. The process involves baking a simple vanilla cake, crumbling it, mixing with frosting, rolling into balls, and dipping in melted chocolate. The finishing touch includes colored iris details, dark pupils, and red gel veins for that authentic creepy look. Best served chilled, these treats hold their shape perfectly while remaining delightfully moist inside. Each bite delivers a rich combination of sweet cake, creamy filling, and crisp chocolate coating that everyone will enjoy at your Halloween gathering.
Last October, my daughter insisted we needed something that would make her friends actually scream at our Halloween party. We spent three consecutive Sunday afternoons testing different versions until we found the perfect creepiness-to-deliciousness ratio. The best part was watching them hesitantly bite into these eyeballs and then immediately reach for seconds.
I made these for the first time for my office potluck, placing them on a platter surrounded by fake spiderwebs. My coworker accidentally knocked one onto the floor and apologized profusely, then joked that at least it didnt actually look like an eye was damaged. Now theyre requested every single year without fail.
Ingredients
- Vanilla cake mix or homemade cake: Starting with a completely cooled cake is non-negotiable, or your filling will turn into a soggy mess instead ofrollable dough
- Cream cheese and butter: Both must be genuinely soft to room temperature or you will end up with lumpy frosting that refuses to blend smoothly
- Powdered sugar: Sift it first if it has been sitting in your pantry for months to avoid those tiny white specks in your filling
- White chocolate or candy melts: Candy melts are much easier to work with since they are designed for coating without tempering
- Dark chocolate or black candy melts: A tiny drop goes a long way for the pupils, so do not waste your expensive bar chocolate here
- Colored candy melts or icing: Blue and green create the most realistic looking irises, but go wild with purple or yellow if you prefer alien eyeballs
- Red gel food coloring: Gel is essential because liquid coloring would seize your chocolate coating and ruin those perfectly round spheres
Instructions
- Bake and cool your cake completely:
- Bake the cake according to directions and let it cool at least two hours, or overnight if possible, until no warmth remains in the center
- Create fine cake crumbs:
- Break the cake into small pieces first, then work with your hands until you have uniform crumbs resembling damp sand
- Prepare the cream cheese frosting:
- Beat the softened cream cheese, butter, powdered sugar, and vanilla until completely smooth with absolutely no lumps remaining
- Combine and test the mixture:
- Mix frosting into the cake crumbs gradually and squeeze a handful to see if it holds together without crumbling apart
- Roll into eyeball shapes:
- Scoop approximately one tablespoon portions and roll between your palms to create 24 smooth, round balls
- Chill until firm:
- Freeze for 20 minutes or refrigerate for at least an hour so they hold their shape during dipping without falling apart
- Melt your white coating:
- Gently melt the white chocolate or candy melts in 30 second bursts, stirring thoroughly to avoid scorching
- Dip each ball:
- Submerge each chilled ball completely using a fork or dipping tool, tapping gently to remove excess coating
- Add colored irises:
- Working quickly while the white coating is still tacky, place a small colored circle in the center for the iris
- Create pupils and finish:
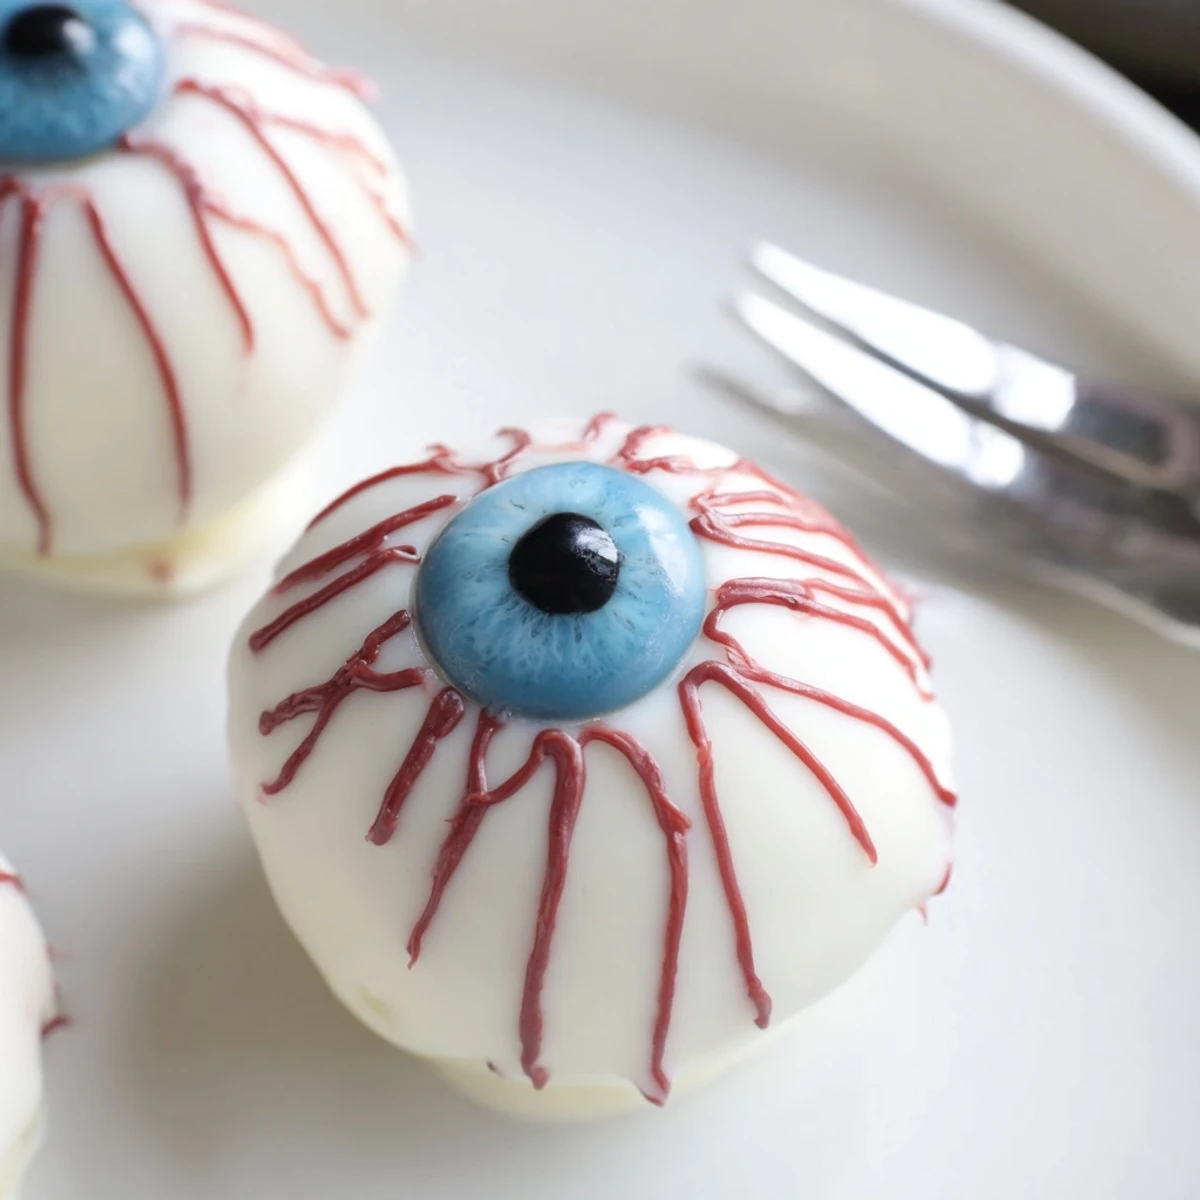
- Once the coating has set, add a tiny dark dot in the center of each iris and draw red veins radiating outward for that authentic spooky effect
 Save to Pinterest
 My niece actually started crying when I brought these out one year, convinced they were real eyeballs until her dad took a huge bite and laughed. Now it is our family tradition to see who can make the most convincing bloodshot veins with the red gel.
Making Them Look Realistic
The secret to truly terrifying eyeballs is varying the iris placement so they do not all stare in the same direction. Some looking slightly up, others down, and a few looking directly at whoever reaches for the platter creates that wonderfully unsettling effect.
Storage and Serving
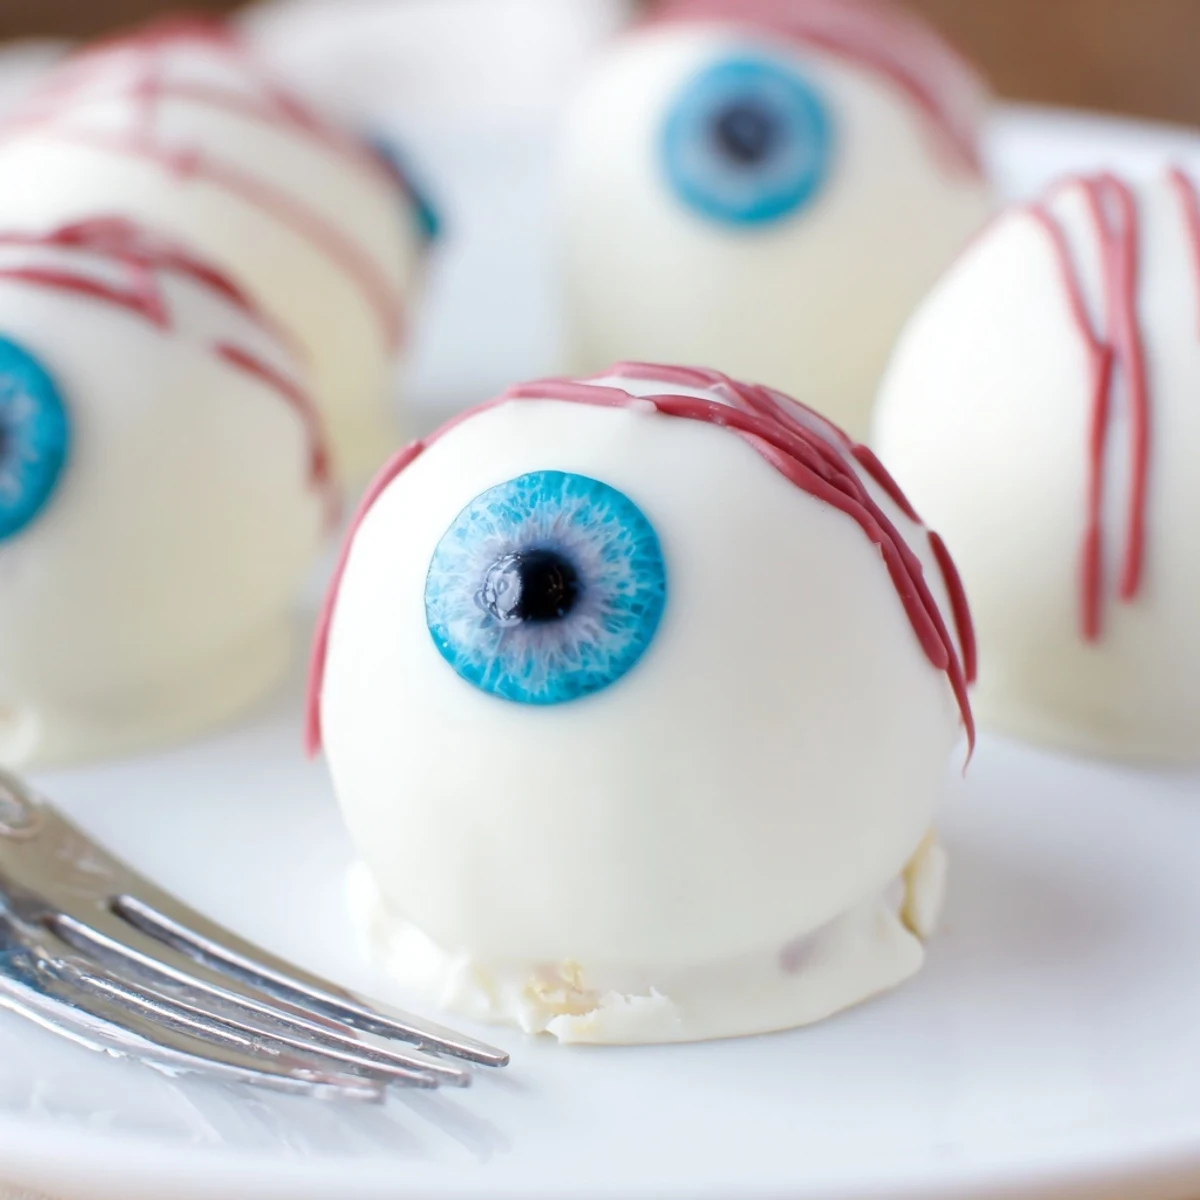
These actually taste better after a night in the refrigerator, as the flavors meld together and the coating firms up beautifully. Serve them chilled for the best texture and to prevent any melting during your Halloween party.
Fun Variations to Try
Once you master the basic technique, try mixing different cake flavors like red velvet for a bloody core or chocolate for extra depth. You can also fill the centers with jam or ganache for an even more gruesome surprise when guests bite into them.
- Use crushed Oreos in the cake mixture for cookies and cream eyeballs
- Add a drop of peppermint extract to the coating for a spooky fresh twist
- Create zombie eyeballs by leaving gaps in the white coating and oozing red jam from the sides
 Save to Pinterest
 These spooky treats have become the most anticipated part of our Halloween celebration, proving that the best holiday desserts are the ones that make you laugh while you eat.
Recipe FAQs
- → How far ahead can I make these cake eyeballs?
-
You can prepare these up to 3 days in advance. Store them in an airtight container in the refrigerator, layered between parchment paper to prevent sticking. The chilling actually helps firm the coating and keeps the interior moist.
- → Can I freeze the cake balls before dipping?
-
Yes, freezing for 20 minutes is actually recommended before dipping. This helps the balls hold their shape and makes the coating process smoother. You can freeze them longer, but bring them to slightly chilled temperature before dipping for best results.
- → What's the best way to melt the chocolate coating?
-
Melt chocolate in 30-second intervals in the microwave, stirring between each interval. Alternatively, use a double boiler on low heat. Avoid overheating as it can seize and become unusable. The chocolate should be smooth and fluid for even coating.
- → Can I use different colors for the iris?
-
Absolutely! While blue and green are traditional eye colors, you can get creative with purple, orange, or even multicolored irises for a more whimsical Halloween look. Use candy melts or gel food coloring mixed with white chocolate.
- → Do I need cake pop sticks for these?
-
Sticks are optional. These work perfectly as bite-sized balls without sticks, making them easier to store and serve. If you prefer the cake pop presentation, insert sticks before coating and let them set upright in styrofoam or a cake pop stand.