 Save to Pinterest
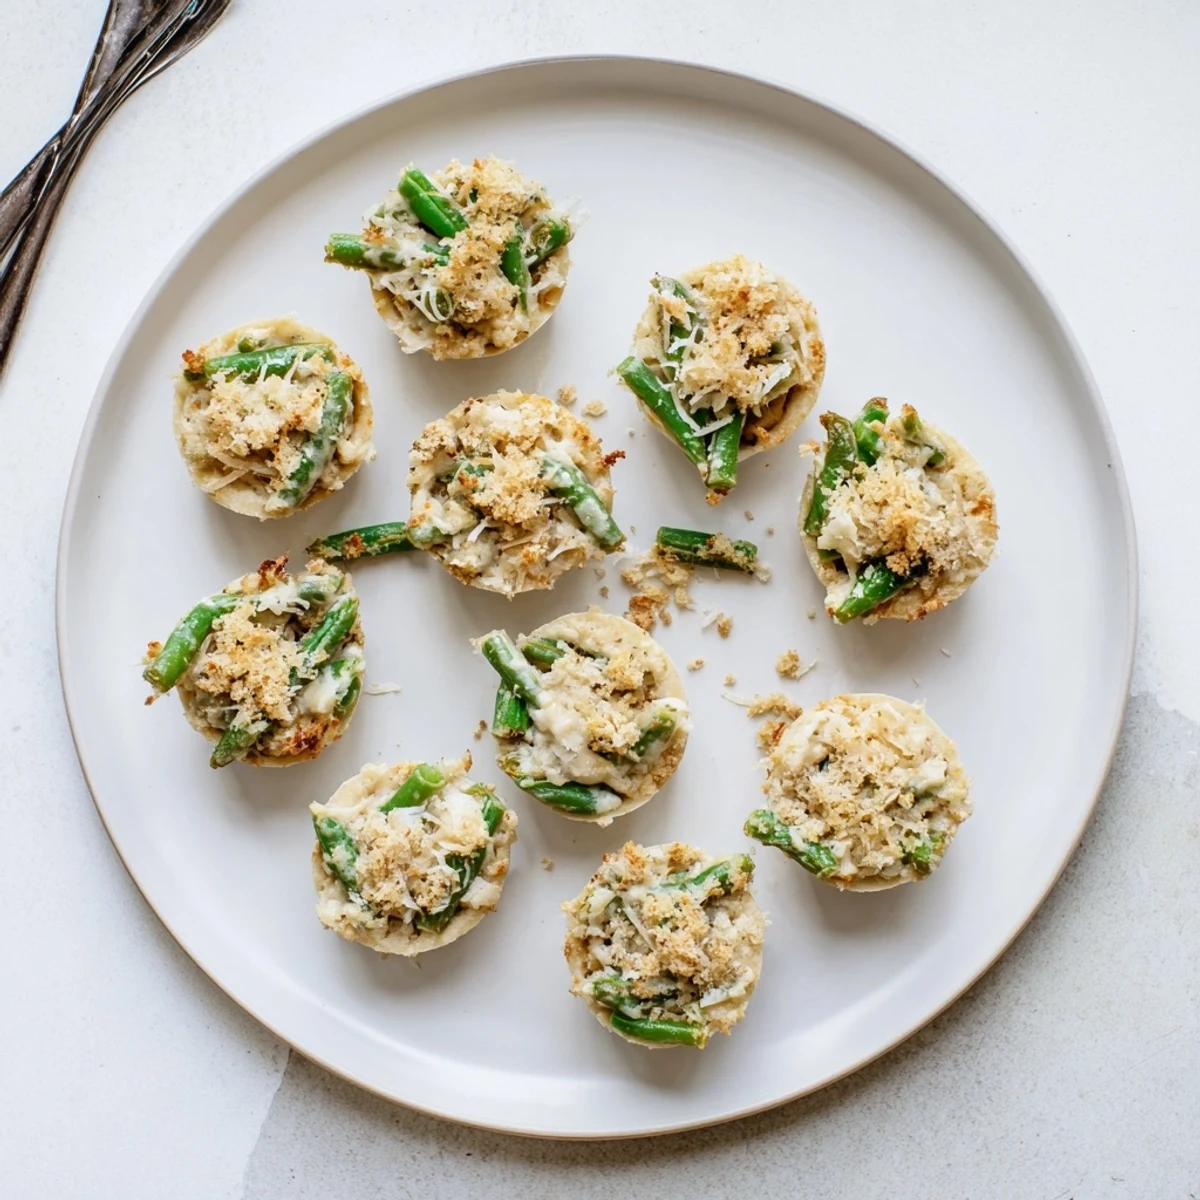
 These individual portions reinvent the beloved green bean casserole with fresh beans in a rich garlic Parmesan cream sauce. The muffin tin format creates perfectly portioned servings with irresistibly crispy, golden brown tops. Ideal for holiday gatherings or weeknight dinners, each cup offers tender beans enveloped in creamy sauce and topped with buttery Parmesan breadcrumbs.
The first time I made green bean casserole cups, my husband walked into the kitchen and asked why I was making muffins for Thanksgiving dinner. He looked genuinely confused until I pulled that golden, bubbling tray from the oven and the smell of garlic and Parmesan hit him. Now he requests them year-round, and I have to admit, eating casserole with your hands is oddly satisfying.
Last Thanksgiving, my sister-in-law brought her traditional green bean casserole, and we ended up doing a side-by-side comparison. Everyone kept reaching for the cups instead, and she texted me the next day asking for the recipe. There is something about individual servings that makes people feel special, like each cup was made just for them.
Ingredients
- Fresh green beans: Frozen beans turn mushy in the oven, but fresh ones keep that satisfying snap even after baking
- Yellow onion: Finely chopped so it melts into the sauce rather than having identifiable onion pieces
- Garlic: Fresh minced garlic creates those fragrant moments when people lean into the kitchen asking what smells so good
- Parmesan cheese: The salty nuttiness of real Parmesan makes all the difference, so skip the stuff in the green shaker can
- Whole milk: Creates that velvety creamy sauce that clings to every bean
- Sour cream: Adds a tangy richness that balances the salty Parmesan perfectly
- Unsalted butter: Gives you control over the salt level since Parmesan is naturally salty
- Panko breadcrumbs: These Japanese breadcrumbs stay crunchier longer than traditional ones
- Olive oil: Prevents the butter from burning while adding a subtle fruitiness
- All-purpose flour: Just enough to thicken the sauce into a silky coating
- Salt and black pepper: Simple seasonings that let the vegetables and cheese shine
Instructions
- Prep your muffin tin:
- Grease each cup thoroughly, because the first time I made these, I skimped on butter and spent twenty minutes carefully prying them out with a knife while my family waited impatiently at the table
- Blanch the green beans:
- Three minutes in boiling water keeps them bright green and crisp-tender, then shock them in ice water so they stop cooking and maintain that perfect texture
- Build your flavor base:
- Melt butter with olive oil over medium heat, cook the onions until they turn translucent and sweet, then add garlic for just one minute until your kitchen smells amazing
- Create the creamy sauce:
- Sprinkle in flour and stir constantly for one minute to cook out the raw taste, then gradually whisk in milk until it bubbles and thickens into something velvety
- Combine everything:
- Remove from heat, stir in sour cream and most of the Parmesan until smooth, then fold in those bright green beans until every single one is coated
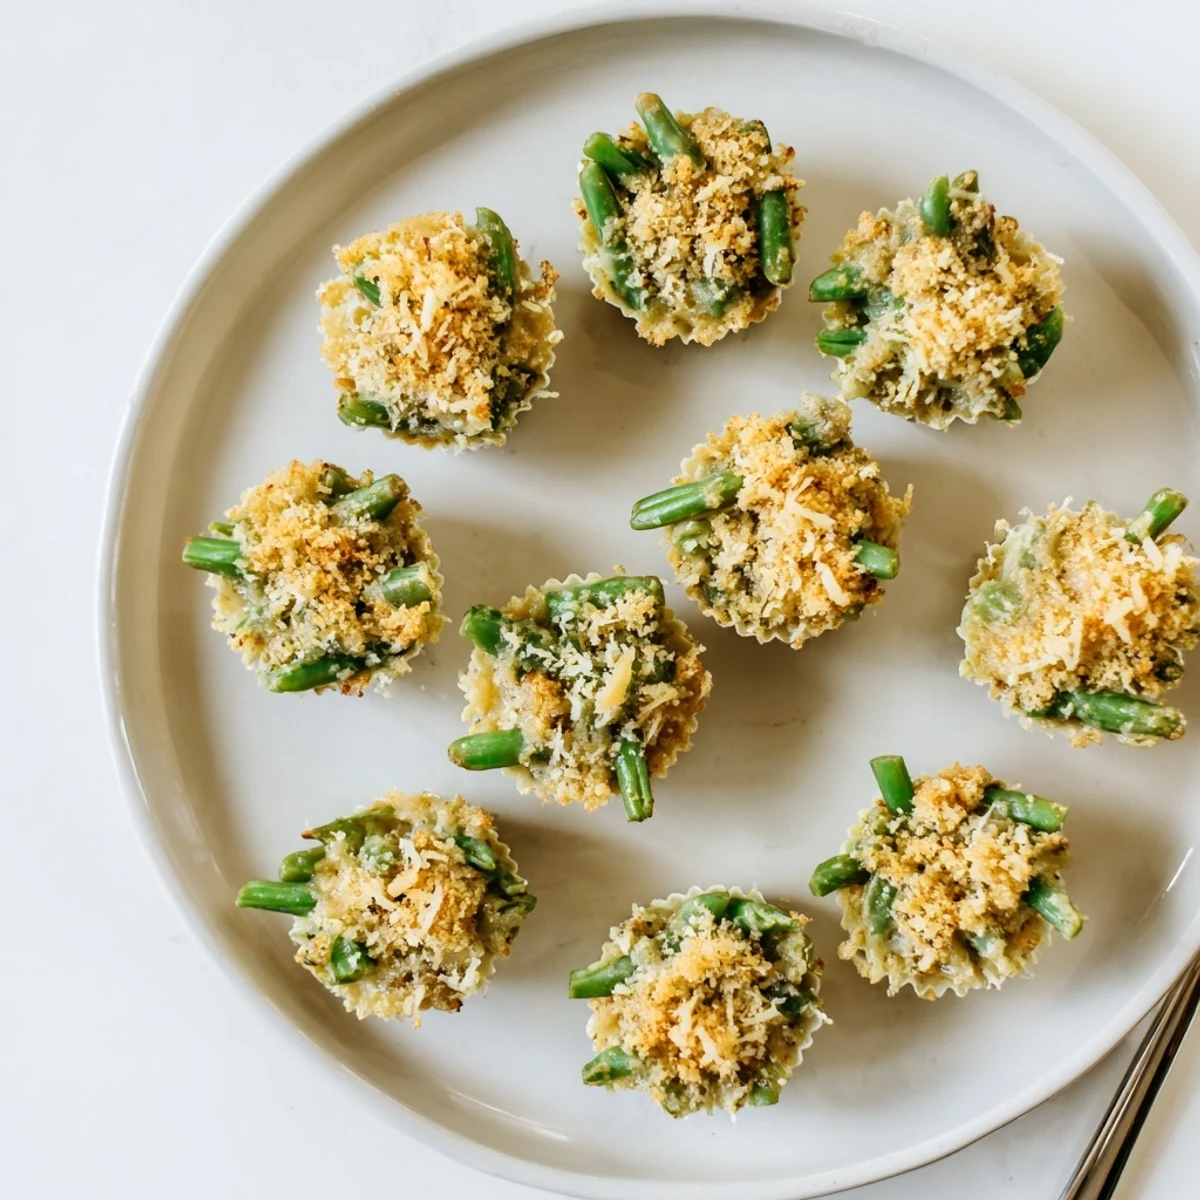
- Fill the cups:
- Divide the mixture among the muffin cups and press down gently, because you want each cup to hold together when someone picks it up
- Add the crispy topping:
- Mix panko with the remaining Parmesan and sprinkle generously over each cup, because that golden crunch is what makes people reach for seconds
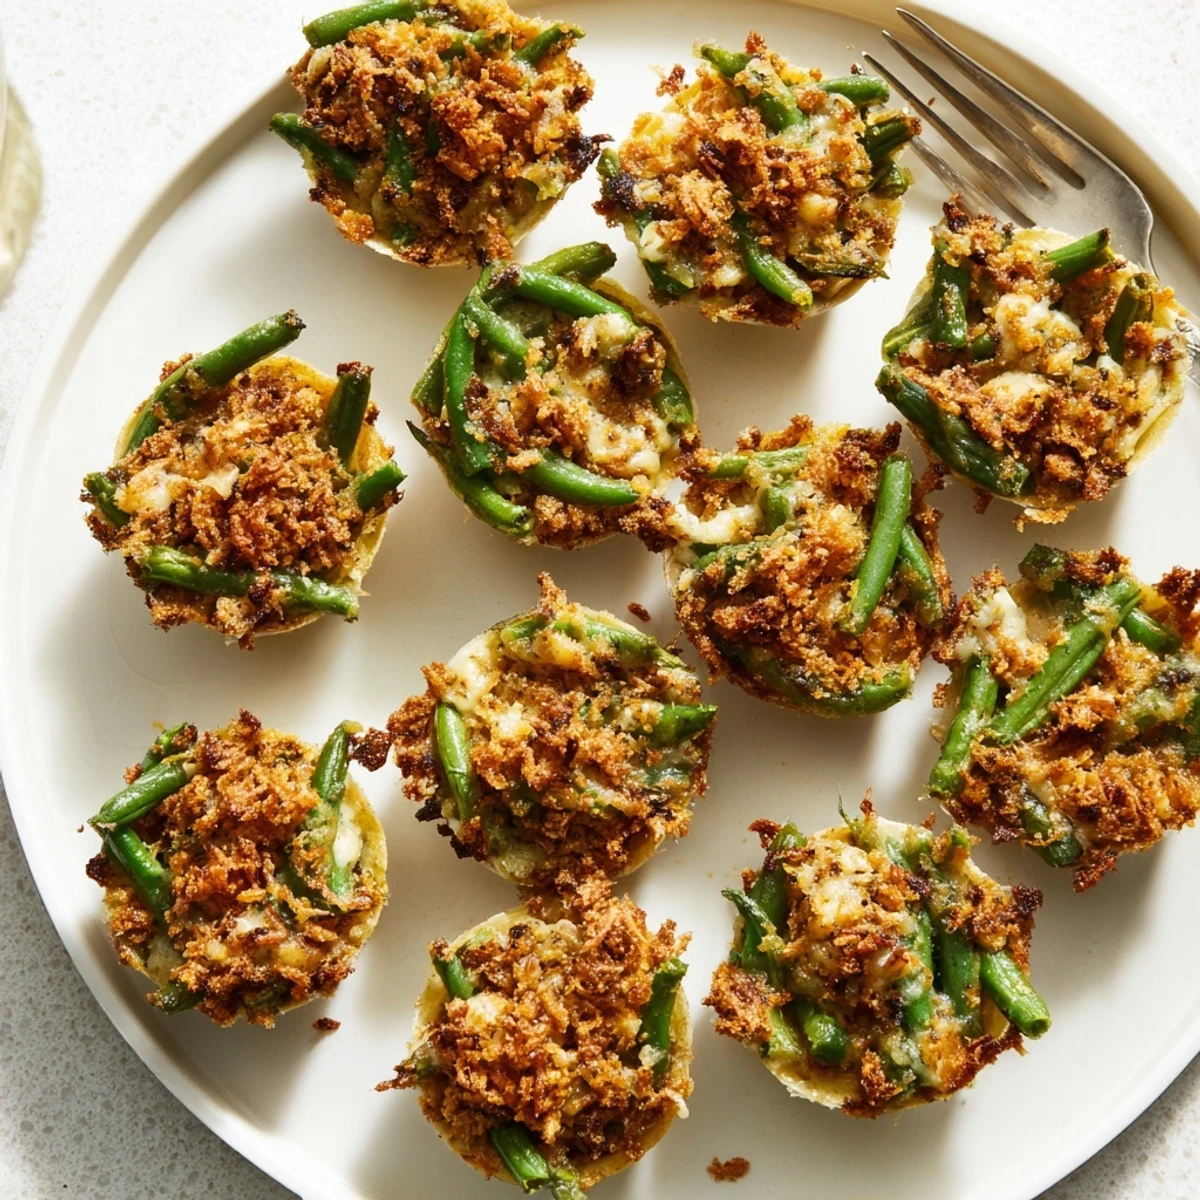
- Bake until golden:
- Eighteen to twenty minutes at 375°F until the tops are bubbling and deep golden brown, but watch closely near the end because Parmesan can go from perfect to burnt quickly
- Rest before serving:
- Let them cool for five minutes so the sets up, then carefully run a knife around the edges and lift them out like little presents
 Save to Pinterest
 My daughter now asks to help me make these every Sunday, standing on her step stool to carefully sprinkle the Parmesan topping on each cup. She calls them her special job, and honestly, watching her take such pride in something so simple reminds me why I fell in love with cooking in the first place.
Make Ahead Magic
You can assemble these cups the day before and refrigerate them without the breadcrumb topping. Add the panko mixture right before baking, and they taste just as fresh as if you made them that morning. I have learned this through years of hosting holiday dinners and trying to reduce my morning stress.
Serving Suggestions
These cups disappear fastest when served alongside roasted meats, because the creamy sauce complements the savory flavors so beautifully. They also make an unexpected appetizer, and I have watched guests hesitate before trying one, then immediately reach for a second.
Tweaks and Variations
Sometimes I add crispy bacon bits to the breadcrumb topping for a smoky salty kick that my brother-in-law cannot stop talking about. You can also swap fresh mushrooms for half the green beans, or add a pinch of smoked paprika to the topping for depth.
- Try gluten-free panko if you are serving guests with dietary restrictions
- A dash of hot sauce in the cream sauce adds a subtle warmth that surprises people
- Extra garlic never hurt anyone, especially when roasted first for a milder flavor
 Save to Pinterest
 These little cups have become my most requested dish, and I love how something so simple can make people feel so special. Hope they become a favorite in your kitchen too.
Recipe FAQs
- → Can I make these green bean cups ahead of time?
-
Yes, prepare the mixture up to 24 hours ahead and store refrigerated. Fill the muffin cups and add the breadcrumb topping just before baking.
- → What's the best way to remove the cups without breaking?
-
Let them cool for exactly 5 minutes after baking. Run a thin knife around the edges, then gently lift using a small offset spatula or spoon.
- → Can I use frozen green beans instead of fresh?
-
Frozen beans work but will be softer. Thaw completely and pat dry before mixing with the sauce to prevent excess moisture.
- → How do I make these gluten-free?
-
Substitute all-purpose flour with a 1:1 gluten-free flour blend and use certified gluten-free panko breadcrumbs. The flavor remains identical.
- → What main dishes pair well with these cups?
-
These complement roasted turkey, chicken, beef tenderloin, or glazed ham beautifully. They also shine alongside prime rib or pork loin.
- → Can I freeze the baked cups?
-
Baked cups freeze well for up to 2 months. Reheat in a 350°F oven for 15 minutes until heated through and crisp again.