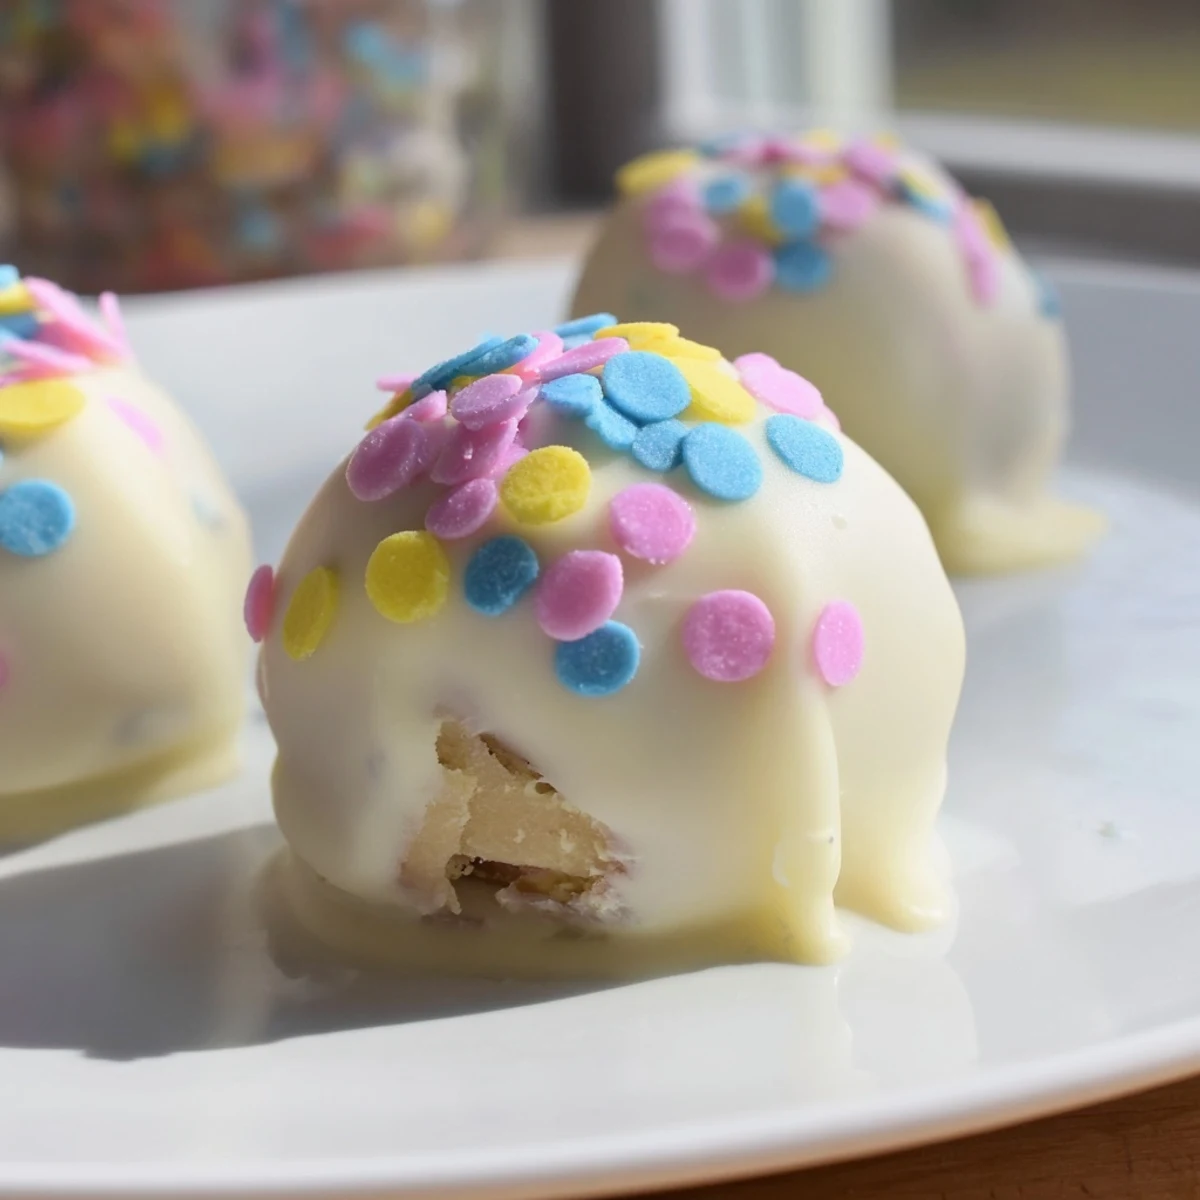
 Save to Pinterest
 These delightful banana pudding truffles combine creamy banana filling with crunchy vanilla wafer crumbs, all coated in smooth white chocolate and decorated with festive Easter sprinkles. The no-bake preparation comes together in just 25 minutes of active time, making them perfect for busy holiday entertaining. Each bite delivers the classic flavors of banana pudding in a poppable, bite-sized format that guests will love.
My kitchen counter looked like a pastel explosion, and I could not have been happier. I had set out to make something special for our neighborhood Easter gathering, and these banana pudding truffles were about to steal the show. The smell of vanilla wafers being crushed took me straight back to childhood desserts, but the grown-up twist of turning them into bite-sized treasures felt entirely new.
Last spring, I made these for my daughters classroom party and watched them vanish in seconds. The teacher asked for the recipe, and two other moms messaged me that evening asking how I got the centers so perfectly smooth. Sometimes the simplest desserts become the ones people remember most.
Ingredients
- Cold whole milk: Using it straight from the refrigerator helps the pudding set up properly
- Instant banana pudding mix: The shortcut that delivers authentic banana flavor without any cooking
- Cream cheese: Room temperature is non-negotiable here for that silky smooth filling
- Vanilla wafer crumbs: These provide the classic crunch we all love in traditional banana pudding
- White chocolate: Chopped into small pieces ensures even melting and a smooth coating
Instructions
- Whisk the pudding base:
- Combine the cold milk and instant banana pudding mix in a medium bowl, whisking vigorously for 2 minutes until noticeably thickened.
- Cream the mixture:
- Add the softened cream cheese and beat with an electric mixer until completely smooth and no lumps remain.
- Form the dough:
- Gently fold in the vanilla wafer crumbs until a thick, moldable dough comes together.
- Shape the truffles:
- Use a tablespoon or small cookie scoop to portion the mixture, then roll into 1-inch balls and place on a parchment-lined baking sheet.
- Chill thoroughly:
- Refrigerate the truffle balls for at least 30 minutes until firm enough to handle without squishing.
- Prepare the coating:
- Melt the white chocolate in a microwave-safe bowl, heating in 20-second intervals and stirring between each until completely smooth.
- Dip and decorate:
- Dip each chilled truffle into the melted chocolate, let excess drip off, and immediately top with Easter sprinkles before the coating sets.
- Final set:
- Refrigerate for 10 to 15 minutes until the chocolate is completely firm.
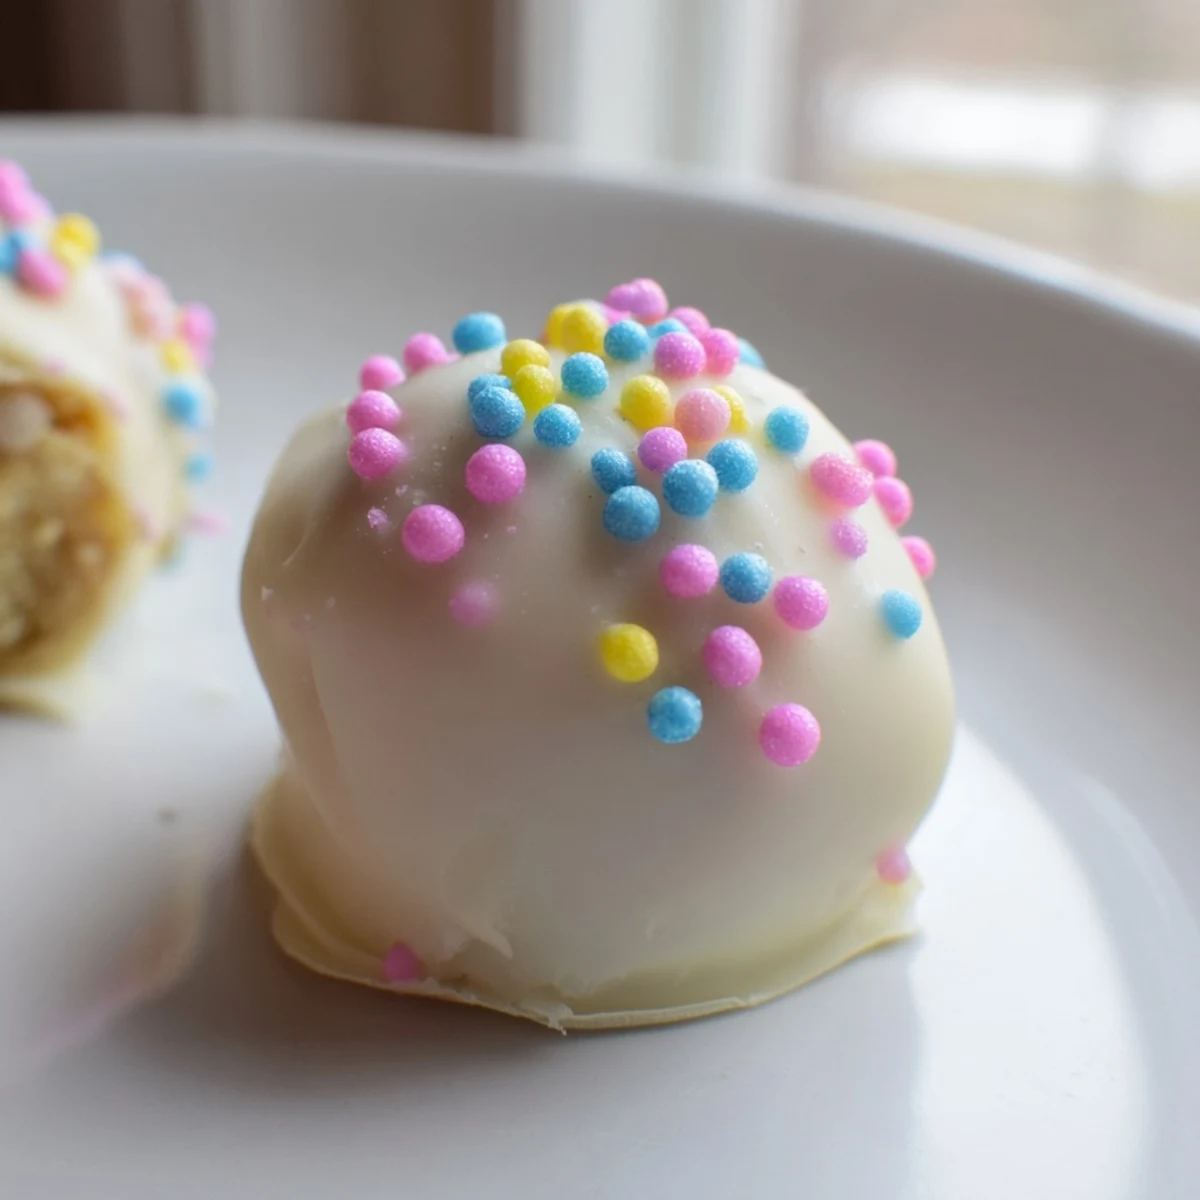 Save to Pinterest
 These have become my go-to contribution for spring gatherings because they look impressive but come together faster than most people realize. Seeing friends reach for seconds always makes the prep time feel worth it.
Making Ahead
I have learned that these truffles actually taste better after resting overnight in the refrigerator. The flavors meld together beautifully, and the texture becomes even creamier. Store them in an airtight container between layers of wax paper to prevent sticking.
Coating Success
The first time I dipped truffles, I ended up with more chocolate on my hands than the candies. Now I use a plastic fork with the middle tines broken off as a makeshift dipping tool. The chocolate slides right off onto parchment paper, and the truffles look professionally made.
Serving Suggestions
These truffles shine brightest when served at room temperature after about 15 minutes out of the refrigerator. The white chocolate coating softens slightly and the interior becomes irresistibly creamy.
- Arrange them in mini paper cupcake liners for easy grabbing
- Pair with fresh berries to balance the sweetness
- Stack them on a pedestal cake stand for maximum Easter table impact
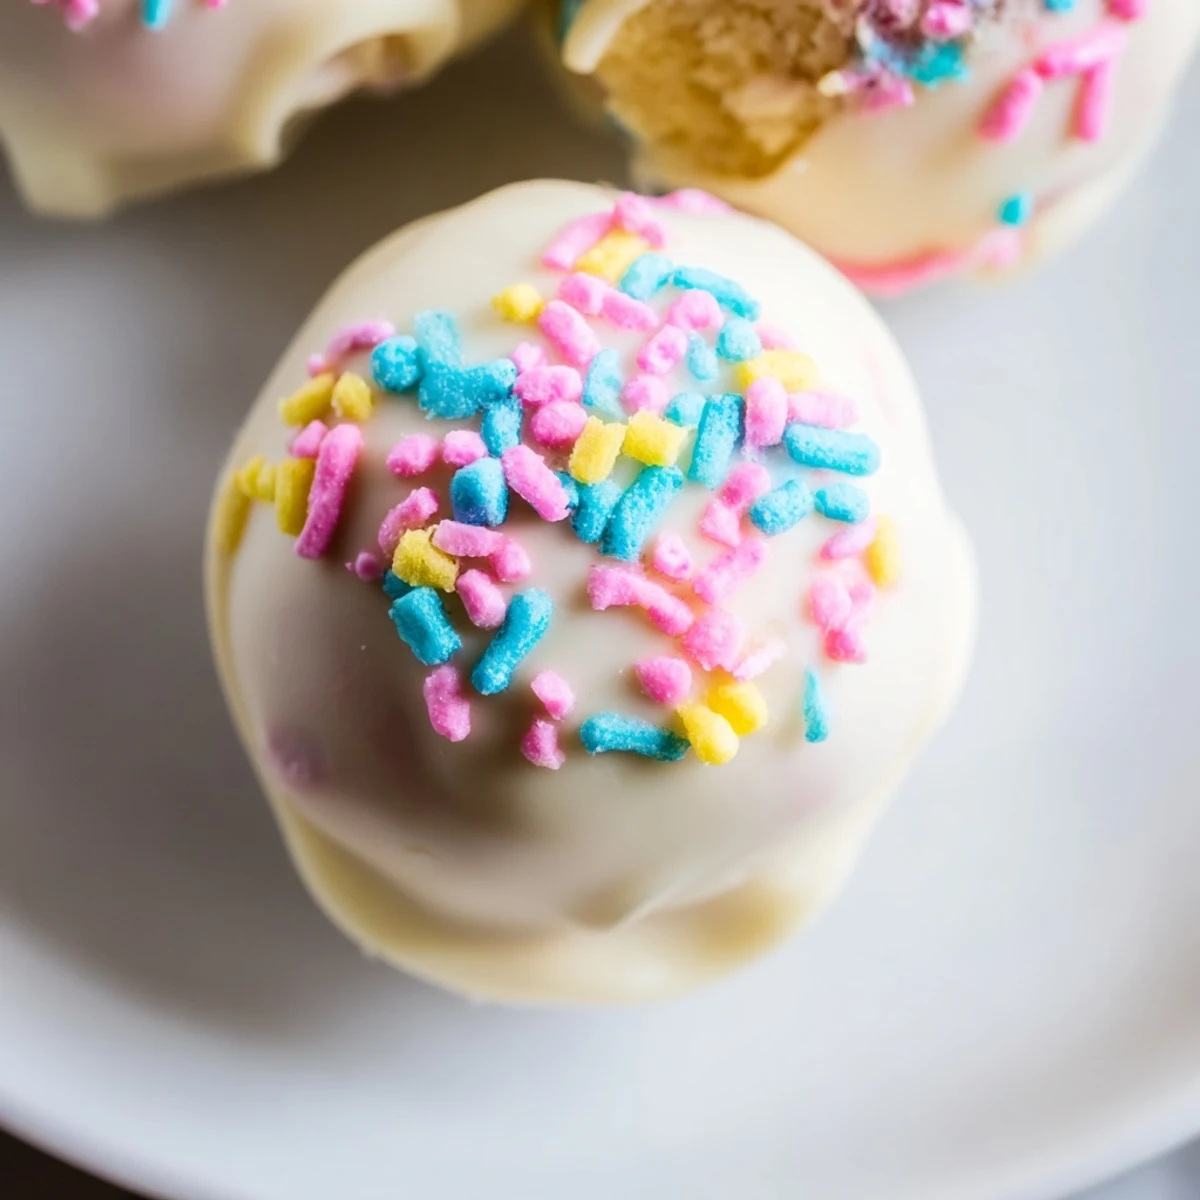 Save to Pinterest
 There is something magical about taking a familiar comfort food and transforming it into something entirely new. These truffles have become a spring tradition I look forward to making year after year.
Recipe FAQs
- → How far in advance can I make these truffles?
-
You can prepare these truffles up to 5 days ahead and store them in the refrigerator. The coating stays fresh and the flavors remain delicious throughout that time.
- → Can I freeze these Easter truffles?
-
Yes, these freeze beautifully for up to 2 months. Place them in an airtight container with parchment paper between layers. Thaw in the refrigerator before serving.
- → What can I use instead of vanilla wafers?
-
Graham crackers work wonderfully as a substitute. You can also use Nilla wafers, digestive biscuits, or even shortbread cookies for a slightly different flavor profile.
- → Do these need to be refrigerated?
-
Yes, due to the cream cheese and dairy ingredients, these should be stored in the refrigerator. Serve them chilled or bring to room temperature for 15-20 minutes before serving.
- → Can I use dark chocolate instead of white chocolate?
-
Absolutely! Dark or semi-sweet chocolate creates a lovely contrast with the banana filling. The flavor combination works beautifully and looks elegant for Easter gatherings.
- → How do I prevent the coating from cracking?
-
Ensure the truffle centers are thoroughly chilled before dipping, and avoid overheating the chocolate. Room temperature ingredients help the coating set smoothly without cracking.